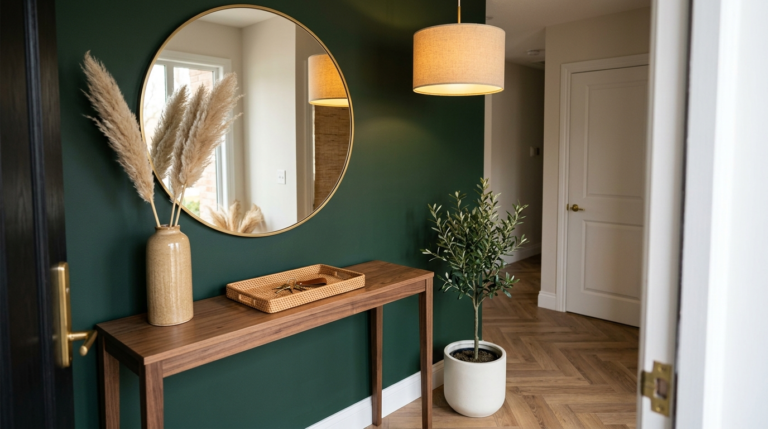
Why Entryways and Hallways Matter
Entryways and hallways are the first and most frequent spaces you experience in your home. They set the tone for your entire living environment. A well-designed entry creates an immediate sense of welcome while hallways facilitate smooth movement throughout the house.
This comprehensive how-to guide will walk you through every step of transforming these transitional areas into stylish, organized, and inviting spaces.

Step 1: Assess Your Space and Needs
Begin by evaluating your entryway’s dimensions, natural light, and traffic flow. Measure carefully and note architectural features like staircases or closets that can be incorporated into the design.
Consider your lifestyle—do you need space for shoes, coats, bags? Families with children require durable, easy-clean surfaces while minimalist households might prioritize clean lines and open feel.
Step 2: Establish a Cohesive Color Scheme
Choose light, reflective colors to make narrow hallways feel wider. Soft whites, gentle grays, or pale blues work beautifully. Use accent walls or wallpaper for personality without overwhelming the space.
Ensure the entryway color flows harmoniously with adjacent rooms for visual continuity. Test samples at different times of day as lighting changes perception dramatically.
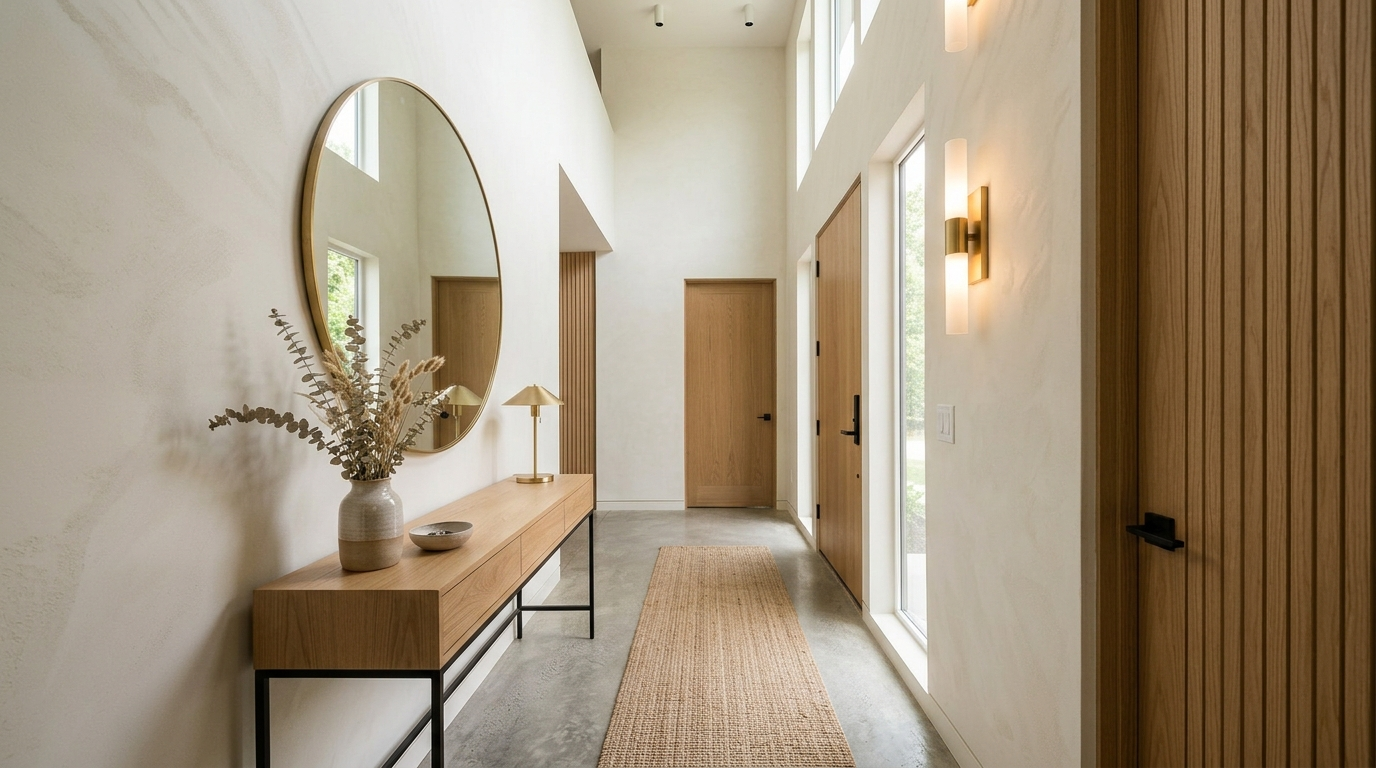
Step 3: Incorporate Smart Storage Solutions
Maximize vertical space with tall slim consoles, wall-mounted hooks, and floating shelves. Built-in benches with hidden storage keep shoes organized and provide seating for putting on footwear.
Multi-functional furniture like storage ottomans or mirrored cabinets serve dual purposes of organization and style. Keep frequently used items accessible while hiding clutter.
Step 4: Master the Art of Lighting
Layer lighting sources for functionality and ambiance. Ceiling fixtures provide general illumination while wall sconces add character and eliminate dark spots. Table lamps on consoles create warm welcoming glows.
Motion-sensor lights are practical for nighttime navigation. Choose fixtures scaled appropriately—avoid overwhelming small spaces with oversized pieces.
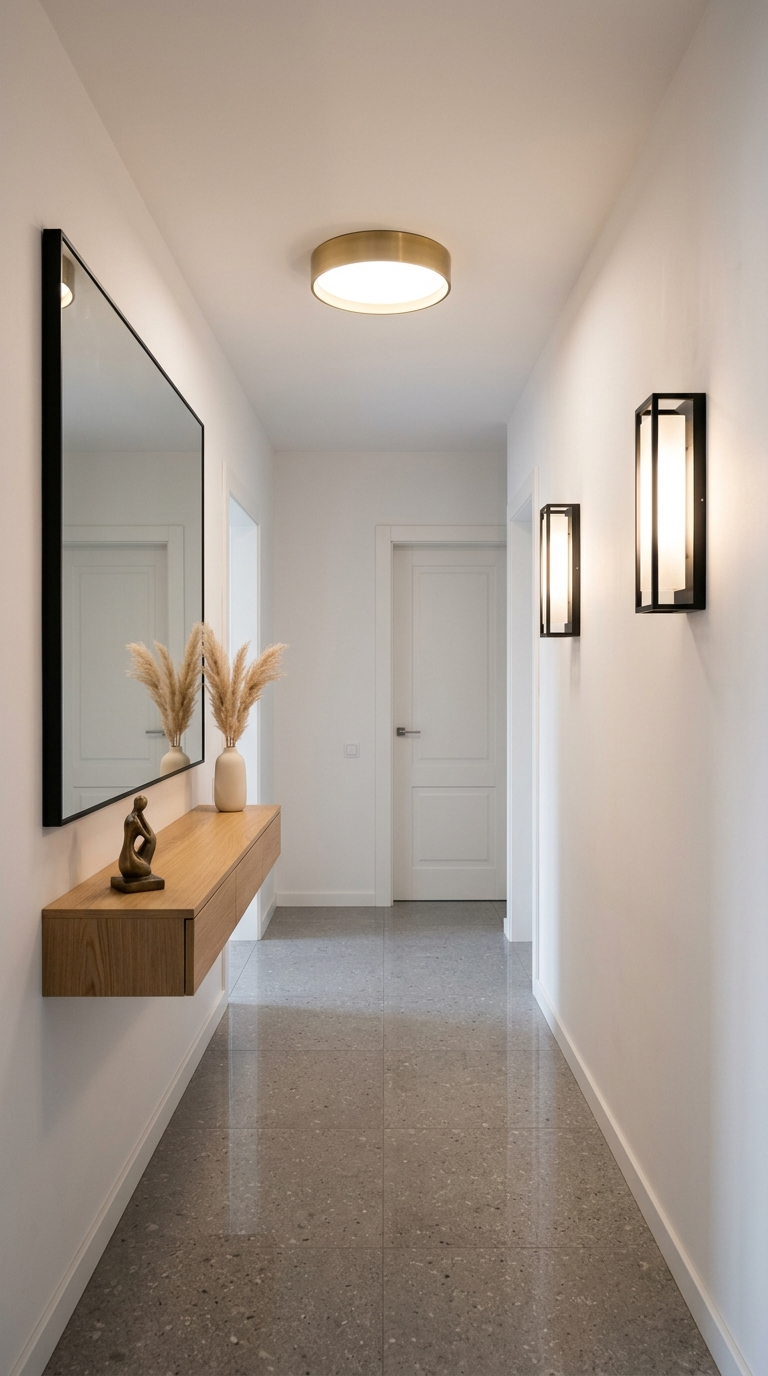
Step 5: Add Mirrors and Reflective Surfaces
Mirrors are essential in entryways. Large leaning or wall-mounted mirrors expand perceived space and allow final appearance checks before leaving. They also bounce light deeper into hallways.
Combine with glossy paint finishes or metallic accents for additional reflection and sparkle that makes the space feel brighter and more luxurious.

Step 6: Select Durable and Stylish Flooring
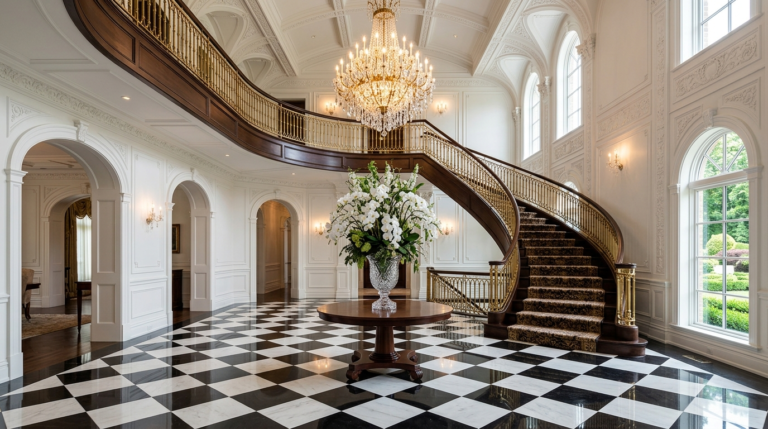
Entryways endure heavy foot traffic, so choose resilient materials like porcelain tile, hardwood, or quality vinyl. Patterned tiles or runners add visual interest and define the space.
Layer with washable rugs for comfort and easy maintenance. Consider boot trays or mats near doors to manage dirt and moisture effectively.
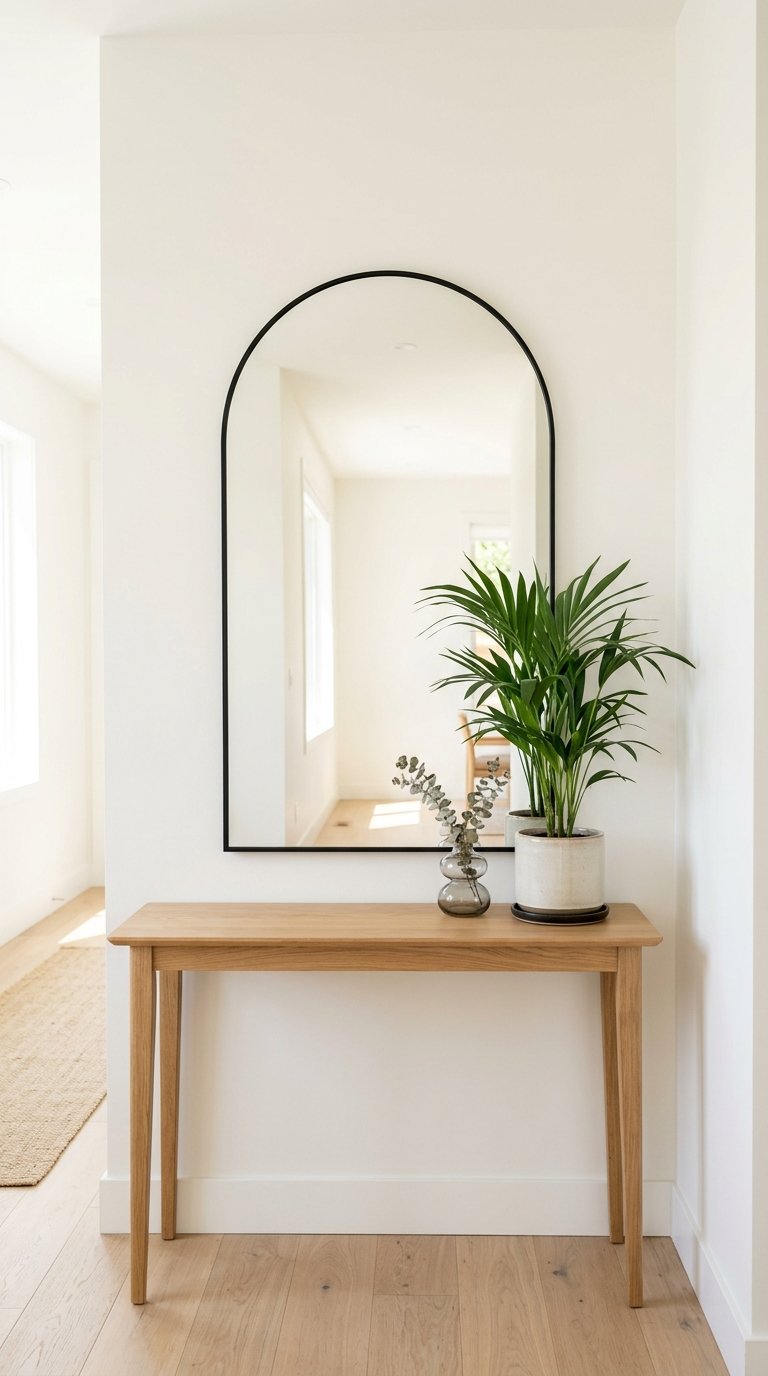
Step 7: Personalize with Artwork and Greenery
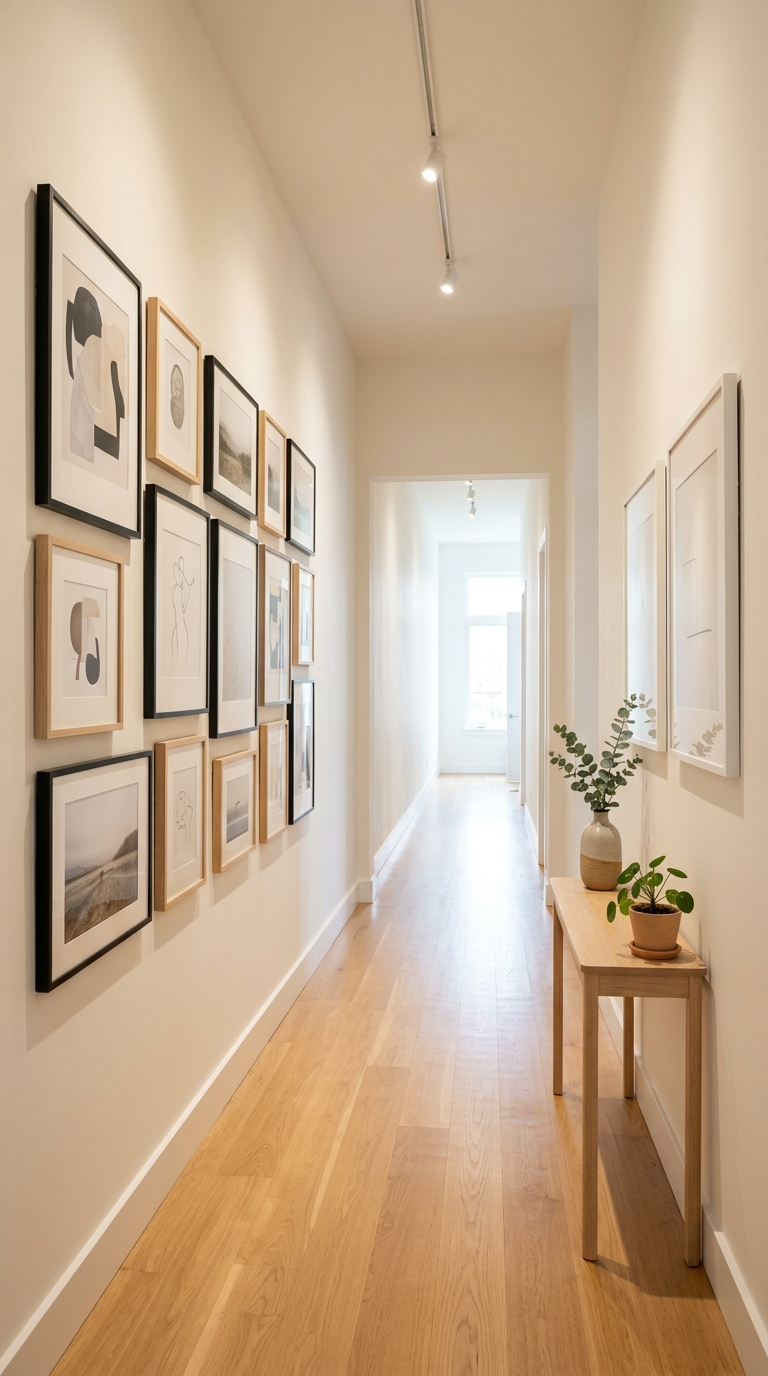
Gallery walls turn hallways into art displays. Mix frame sizes and artworks for dynamic interest. In entryways, a single large statement piece creates immediate impact.
Incorporate plants that thrive in lower light conditions like snake plants or pothos. They purify air and add organic softness to structured spaces.
Step 8: Final Details and Maintenance
Add finishing touches like decorative trays for keys, fresh flowers, or scented elements that welcome you home. Install hooks at different heights for family members.
Regular maintenance keeps these high-traffic areas looking their best. Schedule seasonal refreshes to keep the design feeling current and cared for.
Following these steps systematically will result in entryways and hallways that not only function beautifully but also delight every time you pass through. The investment in these transitional spaces elevates your entire home experience.