Achieving a perfectly organized home often feels like an insurmountable mountain to climb, especially when balancing busy work schedules, family obligations, and the general chaos of modern life. We have all experienced the overwhelming frustration of walking into a cluttered room, feeling instantly stressed and unsure of where to begin the cleaning process. However, mastering home organization is not about achieving unattainable perfection or spending every weekend scrubbing baseboards; it is about creating sustainable systems that support your lifestyle and promote a sense of calm. When your environment is tidy and everything has a designated place, you reclaim valuable time, reduce mental fatigue, and cultivate a peaceful sanctuary where you can truly relax. This comprehensive, step-by-step decluttering guide will walk you through the entire process of transforming your messy spaces into highly functional, beautifully organized areas. By breaking the monumental task down into manageable phases, you will build the habits and systems necessary to maintain a clutter-free home for years to come. Let us begin your journey toward a more organized and intentional way of living.
Step 1: Cultivating the Right Mindset and Initial Planning
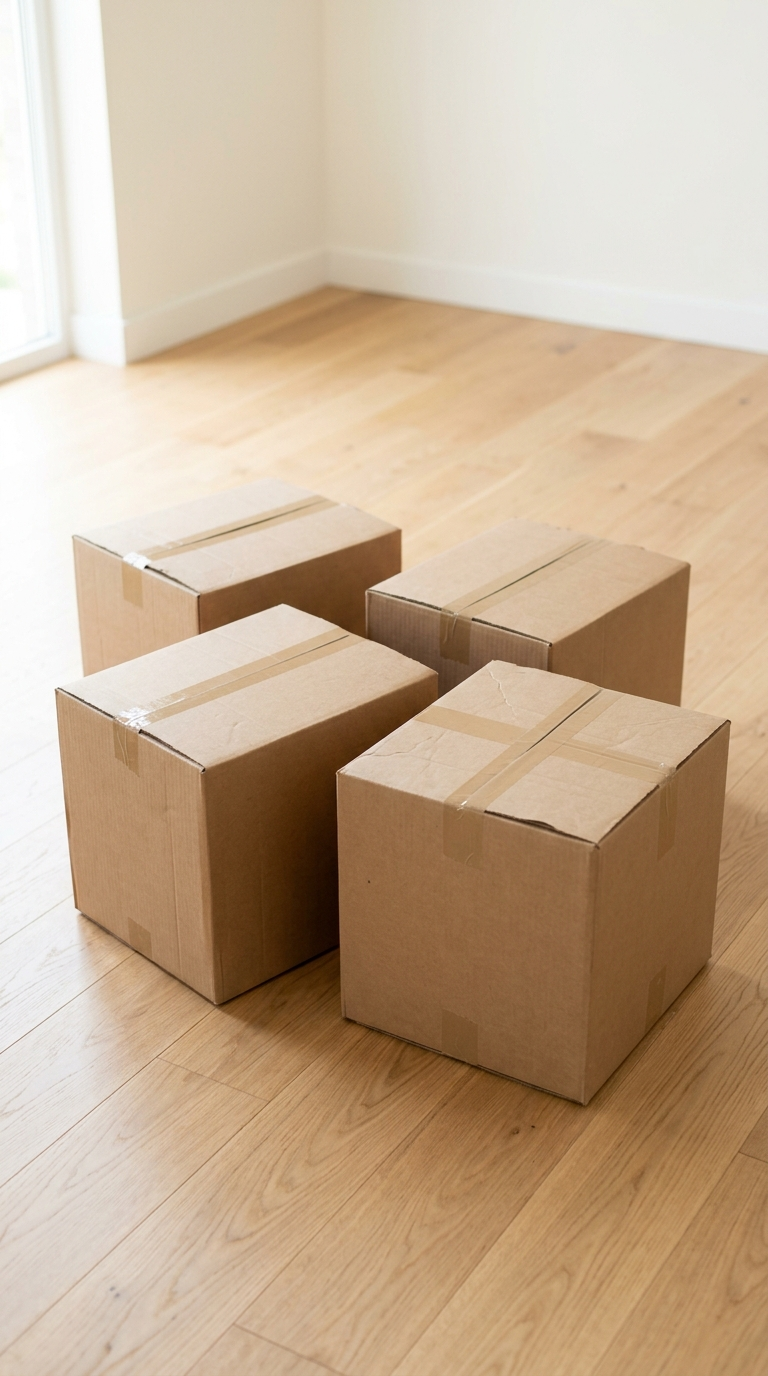
Before you touch a single item in your home, it is crucial to cultivate the right mindset and engage in thorough planning. Organization is as much a psychological journey as it is a physical one. Start by defining your “why.” Why do you want a more organized home? Is it to reduce anxiety, to be able to host guests without panic, or to ensure your children can easily find their toys? Writing down your core motivations will serve as your anchor when the process inevitably becomes tedious. Studies have shown that visual clutter significantly increases cortisol levels, the body’s primary stress hormone, leading to feelings of anxiety and fatigue. When your physical environment is chaotic, your brain is constantly processing unnecessary visual stimuli, leaving you mentally drained before you even begin your day. Acknowledging this physiological impact can be a powerful motivator. Next, conduct a realistic assessment of your space and schedule. Do not attempt to organize the entire house in a single weekend; this is a guaranteed recipe for burnout. Instead, create a master list of all the areas that require attention, from the master closet to the junk drawer in the kitchen. Then, prioritize these spaces based on your daily pain points and break them down into micro-tasks. Dedicate specific, manageable blocks of time—such as thirty minutes a day or a few hours on a Saturday morning—to tackle one specific zone. Gather your essential supplies beforehand, including heavy-duty trash bags, cardboard boxes for donations, a label maker, and a timer. Setting a timer creates a sense of urgency and prevents you from getting lost in the nostalgia of old photographs or sentimental trinkets. Remember, the goal of this initial phase is preparation, not execution.
Step 2: The Core Sorting Methodology and Decluttering Rules
Once you have selected your first target area, it is time to apply a rigorous sorting methodology. The most effective approach is the “Four-Box Method.” Label four boxes or large bags with the following categories: “Keep,” “Donate/Sell,” “Trash/Recycle,” and “Relocate.” As you pick up every single item in the room, you must make an immediate, decisive choice about its fate. Do not set things aside in a “maybe” pile; indecision is the enemy of organization. To help you make these tough choices, adopt a few strict decluttering rules. First, apply the “One-Year Rule”: if you have not used, worn, or deeply loved an item in the past twelve months, it is time to let it go. Second, consider the “Replacement Cost”: if you could easily and cheaply replace an item in the future should you need it, do not hoard it now. Third, beware of the “Sunk Cost Fallacy.” Just because you spent a lot of money on an item or received it as a gift does not mean you are obligated to keep it if it brings no value to your current life. Sentimental items are often the biggest hurdle in the decluttering process. It is essential to remember that the memory resides within you, not within the physical object. If you are struggling to let go of a large collection of childhood memorabilia or inherited heirlooms, try taking high-quality photographs of the items and creating a digital memory book. This allows you to preserve the emotional connection and the visual memory without sacrificing valuable physical space in your home. As you sort, place the “Donate” and “Trash” boxes directly into your car or garage immediately upon finishing the room. Removing these items from your physical environment prevents the clutter from creeping back into your home. This decisive action is the cornerstone of any successful decluttering project.
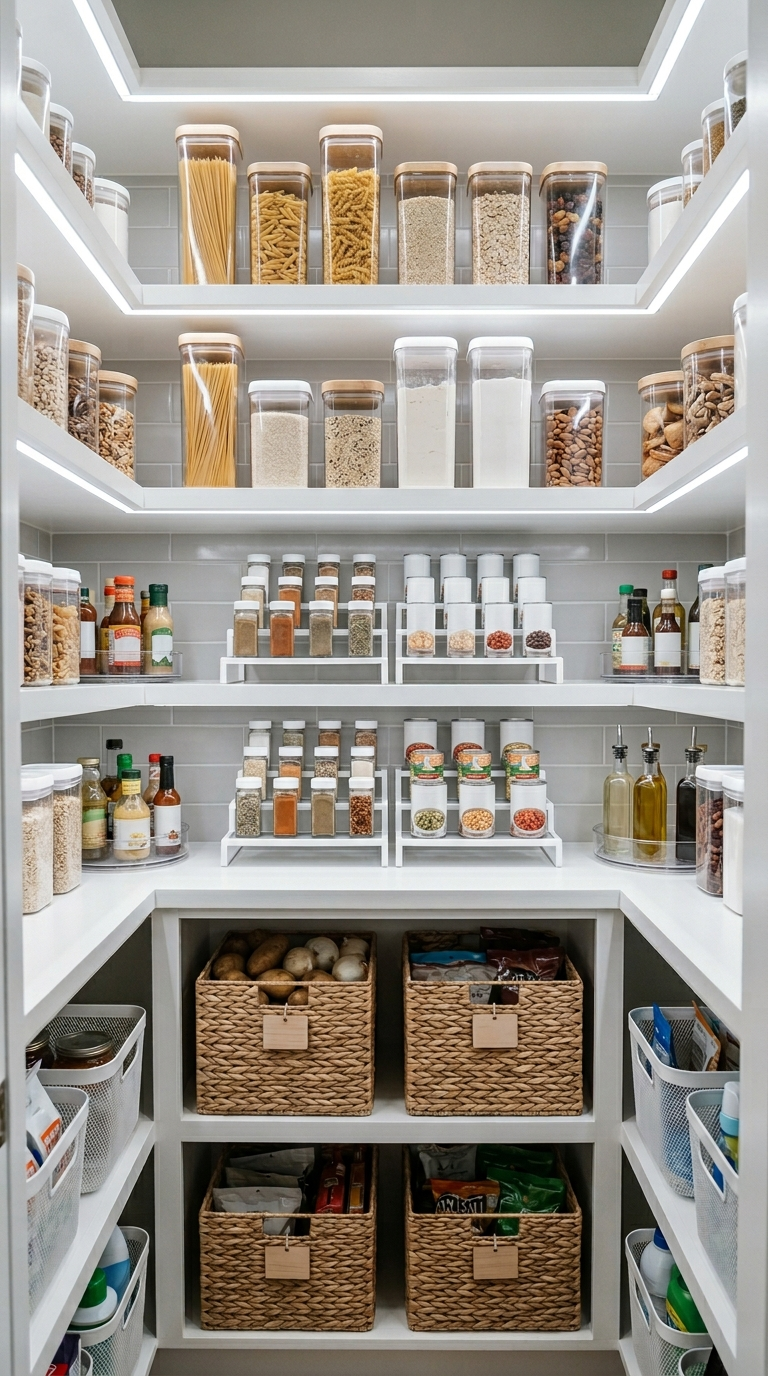
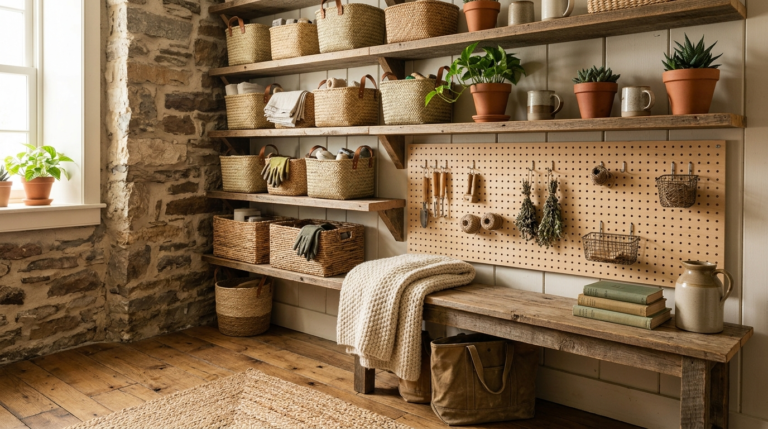
Step 3: Conquering the Kitchen and Pantry Zones
The kitchen is often the most heavily used room in the house and consequently the most prone to chaotic clutter. To organize the kitchen effectively, you must first clear off all countertops completely. Only the appliances you use on a daily basis, such as the coffee maker or toaster, should remain on the counters. Everything else must be stored away or discarded. Tackle the cabinets and drawers one by one. Empty them entirely, wipe down the shelves, and evaluate the contents. Discard expired spices, mismatched food storage containers without lids, and chipped mugs. Implement vertical dividers for baking sheets and cutting boards, and use tiered shelf risers to maximize cabinet height. In the pantry, uniformity is your best friend. Decant dry goods like pasta, rice, and cereal into clear, airtight containers. This not only keeps food fresher for longer but also allows you to see exactly when you are running low on staples. Use lazy Susans for oils, vinegars, and condiments to make reaching items in the back of deep shelves effortless. Do not forget the refrigerator, which is a major source of kitchen clutter and food waste. Use clear, stackable bins to categorize items such as dairy, produce, and beverages. This prevents items from being pushed to the back and forgotten until they spoil. Line the shelves with easy-to-clean mats and designate a specific bin for leftovers and perishables that need to be consumed quickly. Keeping the fridge organized not only saves money but also makes healthy meal planning significantly easier. A well-organized kitchen streamlines meal preparation, reduces food waste, and makes cooking a genuinely enjoyable experience rather than a stressful chore.
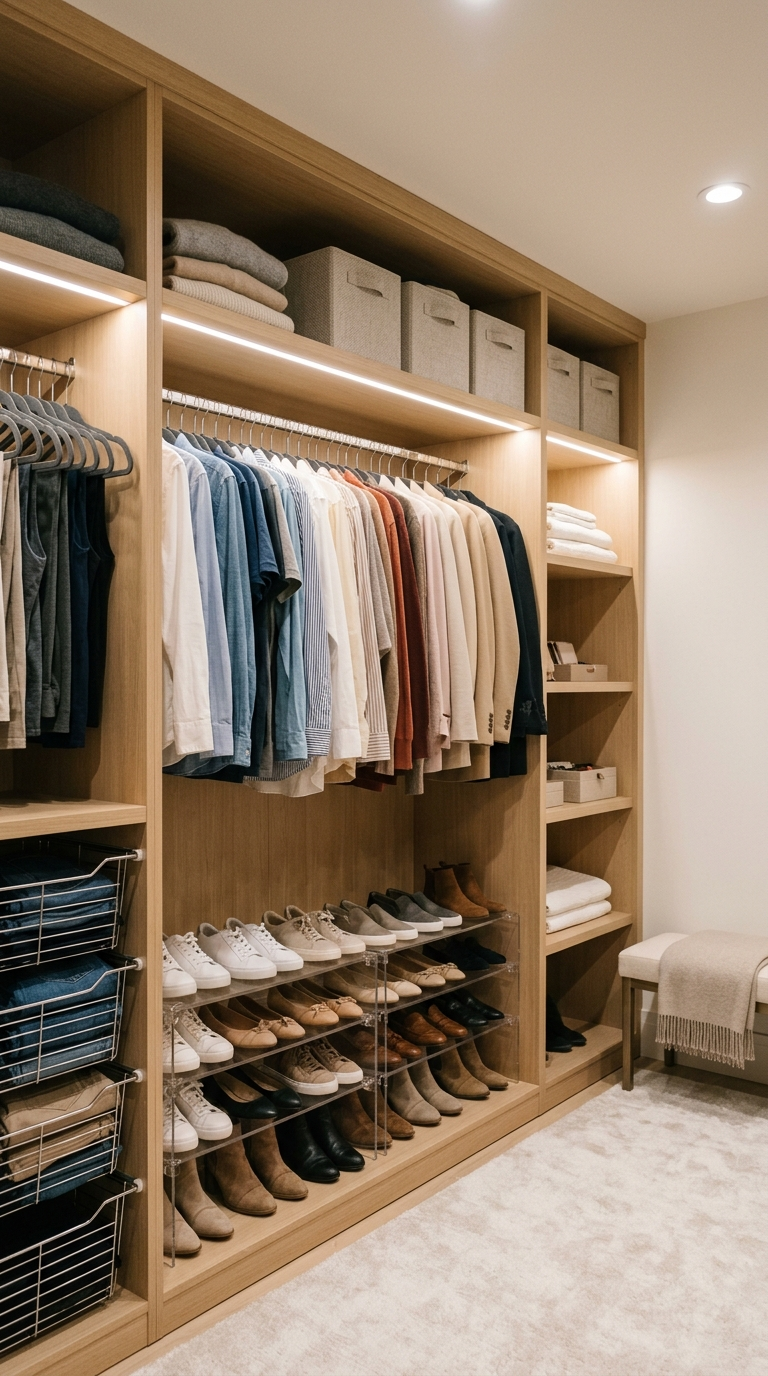
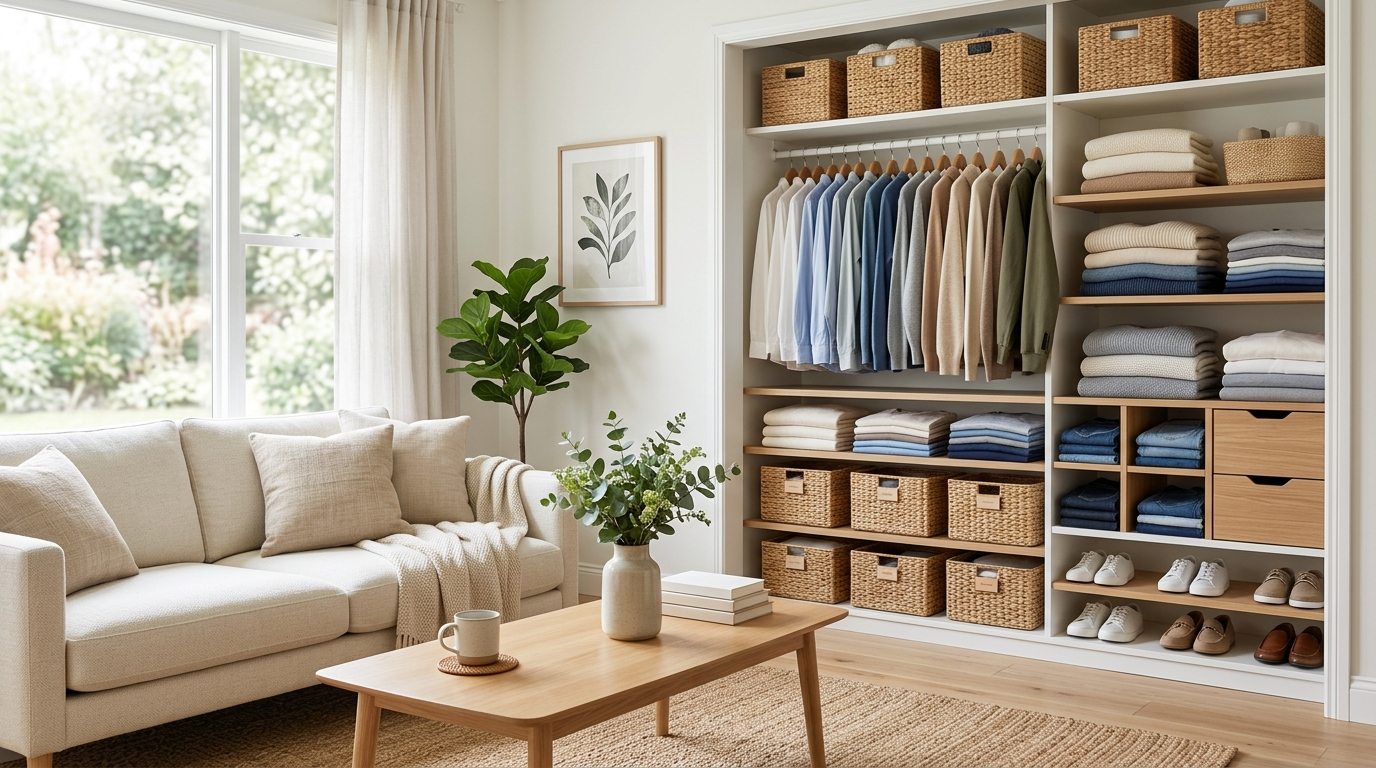
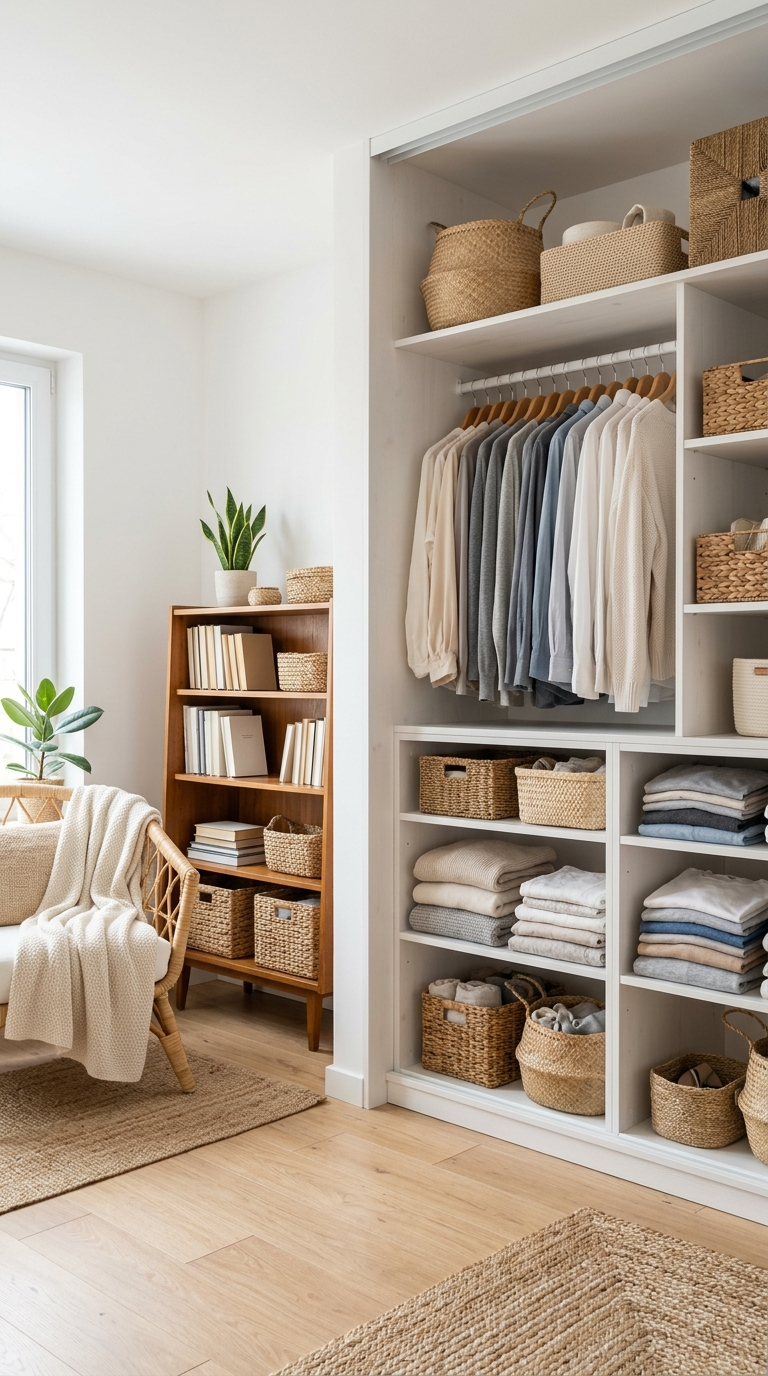
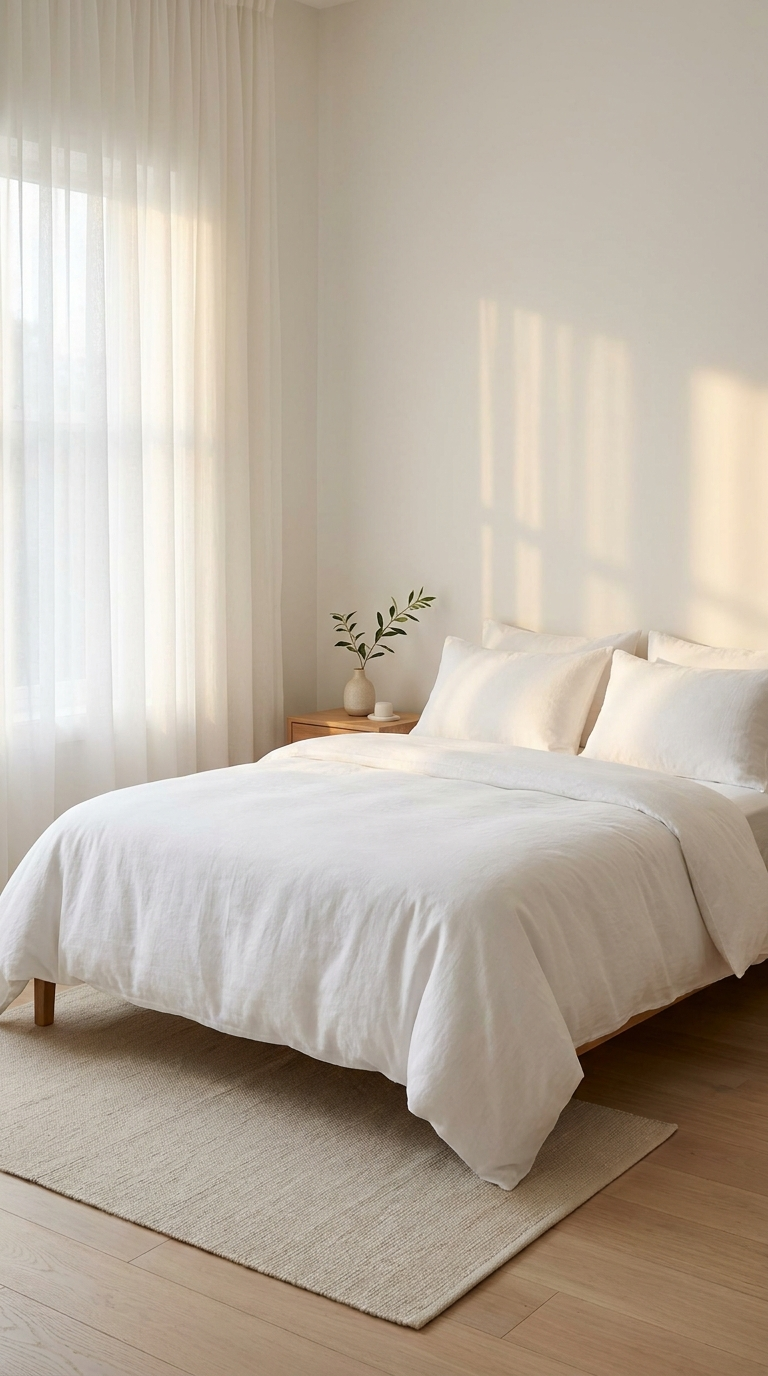
Step 4: Transforming Closets and Bedroom Sanctuaries
Your bedroom and closets should be restful retreats, not stressful storage units overflowing with clothes you no longer wear. Begin by pulling every piece of clothing, shoe, and accessory out of the closet and piling it on the bed. This visual representation of your belongings is often a wake-up call that motivates serious decluttering. Sort through your wardrobe using the rules established in Step 2. Be brutally honest about fit, style, and comfort. For the items you choose to keep, upgrade your storage infrastructure. Replace mismatched wire hangers with slim, velvet non-slip hangers to instantly double your hanging space and create a cohesive, boutique-like aesthetic. Utilize the vertical space above the hanging rod for out-of-season clothing or extra bedding by installing high shelves or using stackable storage bins. On the floor, use clear acrylic shoe boxes or tiered racks to keep footwear visible and accessible. In the dresser drawers, use honeycomb dividers or small fabric bins to corral socks, underwear, and accessories, preventing them from becoming a tangled mess. The space beneath your bed is prime real estate for organization, provided it is used correctly. Avoid shoving random items into plastic bags under the bed, as this creates hidden chaos. Instead, invest in low-profile, wheeled storage drawers or fabric bins specifically designed for under-bed use. These are perfect for storing out-of-season clothing, extra linens, or even a rotating selection of books and hobbies. Ensure that whatever you store there is completely clean and sealed to protect it from dust. Finally, establish a daily habit of making your bed and putting away clothes immediately after wearing them. These small, consistent actions are what maintain the serenity of your sleeping environment.
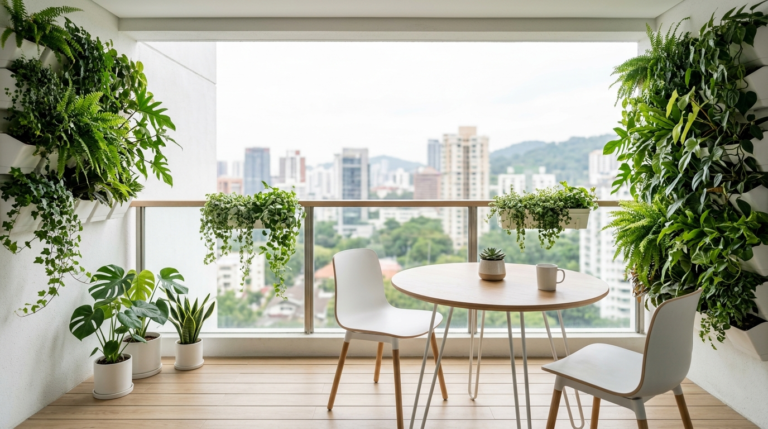
Step 5: Managing Living Areas and Long-Term Maintenance Systems
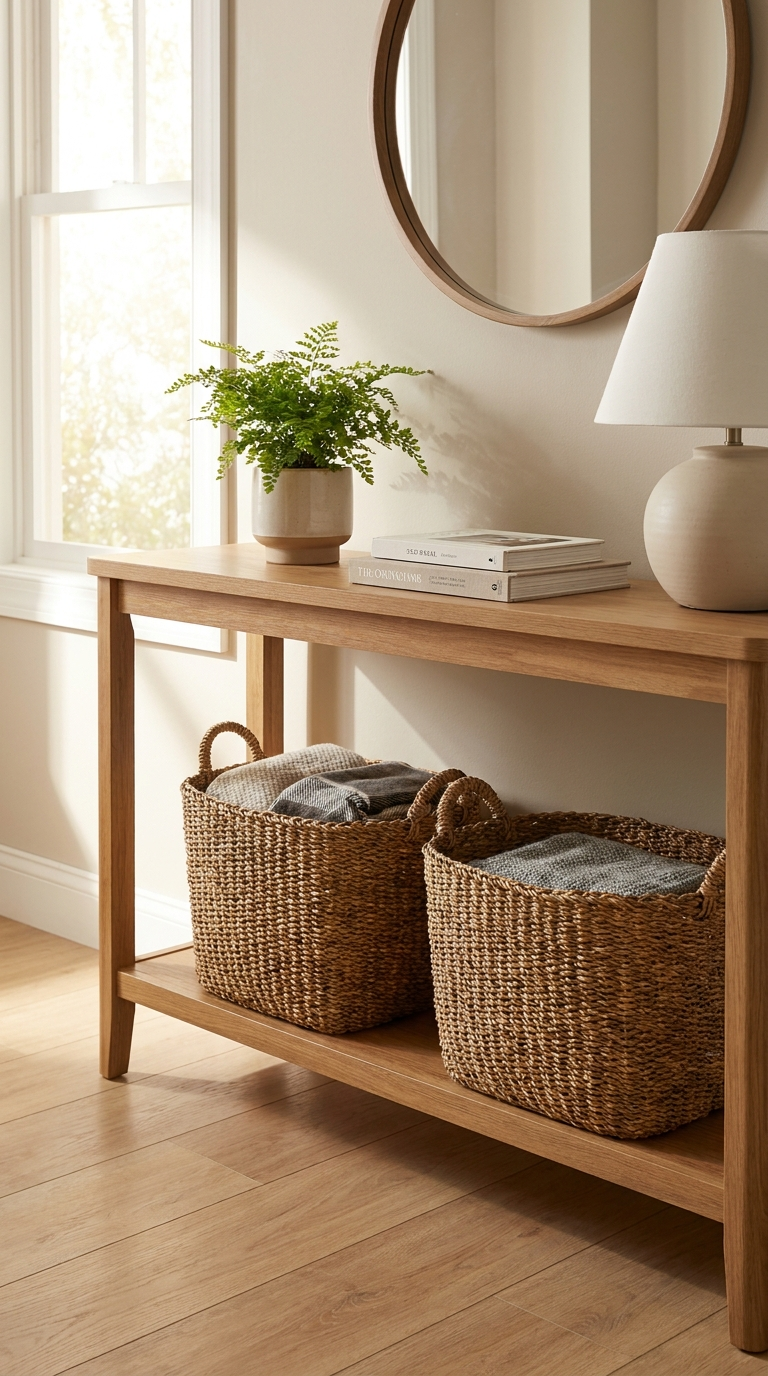
Living rooms, family rooms, and entryways are high-traffic zones where clutter tends to accumulate rapidly. To keep these spaces organized, you must implement “landing strips” and hidden storage solutions. In the entryway, install a console table with drawers or baskets to catch keys, mail, and sunglasses the moment you walk through the door. A bench with built-in shoe storage and hooks for coats prevents outerwear from being draped over dining chairs. In the living room, choose furniture that works double duty, such as ottomans with hidden storage for blankets and board games, or coffee tables with lower shelves for magazines and remote controls. Manage the inevitable tangle of electronics by using cable management boxes and zip ties to hide cords behind media consoles. Physical clutter is only one part of the equation; digital clutter can be just as overwhelming. Take time to organize your digital life by unsubscribing from promotional emails, deleting old files, and organizing your computer desktop and smartphone apps into logical folders. A chaotic digital environment can cause just as much mental friction as a messy desk. Establish a weekly digital reset where you clear out your downloads folder and empty your email trash bin. However, organizing is only half the battle; maintaining the system is where most people fail. Implement the “One In, One Out” rule: whenever a new item enters your home, an old item must be donated or discarded. Dedicate ten minutes every evening to a “reset routine,” where you and your family return stray items to their proper homes, fluff pillows, and wipe down surfaces. Schedule a seasonal “clutter audit” to reassess your belongings and prevent slow accumulation. By embedding these systems into your daily rhythm, organization becomes a natural byproduct of your lifestyle rather than a dreaded chore.
Conclusion
Mastering home organization is a deeply rewarding journey that extends far beyond the physical act of tidying up. It is about intentionally curating your environment to support your goals, reduce stress, and enhance your overall quality of life. By following this step-by-step guide—from shifting your mindset and applying strict decluttering rules to implementing smart storage solutions in the kitchen, bedroom, and living areas—you are building a foundation for lasting peace. The benefits of a well-organized home compound over time. You will find that you spend less time searching for lost keys and more time engaging in meaningful activities with your loved ones. Your home will become a place of restoration rather than a source of daily frustration. Remember that perfection is not the objective; progress and consistency are what truly matter. Celebrate your small victories along the way, whether it is finally conquering that chaotic junk drawer or successfully maintaining a clear countertop for an entire week. As you continue to refine your systems and let go of the excess, you will find that your home transforms into a beautiful, breathable sanctuary that nurtures your well-being. Embrace the process, trust your decisions, and enjoy the profound freedom that comes with a truly organized home.