Step 1: Embrace the Constraint as a Creative Brief
Here is something no one tells you when you move into a small kitchen: the constraint is a gift. When you have an enormous kitchen, decisions multiply endlessly — where do the appliances go, how do you define the zones, what fills all that counter space? A small kitchen forces clarity. Every single decision matters, and because it matters, you make better choices. You stop buying things you do not use. You start thinking about how you actually cook.
Before you paint a wall or buy a single shelf bracket, spend a week observing how you use your kitchen. When do you cook? What are the five things you reach for most? Where does clutter accumulate? The answers will become your design brief, and a well-understood small kitchen is always more livable than a large one that has never been properly thought through.
Step 2: Map Your Zones
Even in a kitchen that is barely eight feet wide, you can establish distinct functional zones: a prep zone, a cooking zone, a cleaning zone, and a storage zone. The goal is to reduce the number of steps between each zone — a small kitchen should mean efficiency, not chaos. In a galley layout, keep the cooking zone (stove and oven) directly across from or adjacent to the prep zone (your main counter) so your movements are short and purposeful.
In an L-shaped kitchen, the corner is often dead space. Consider a rotating lazy Susan cabinet, a pull-out carousel unit, or even a small built-in bar stool nook where the corner becomes a social spot rather than a storage problem. Think three-dimensionally: zones do not only extend horizontally — they extend upward.
Step 3: Go Vertical with Storage
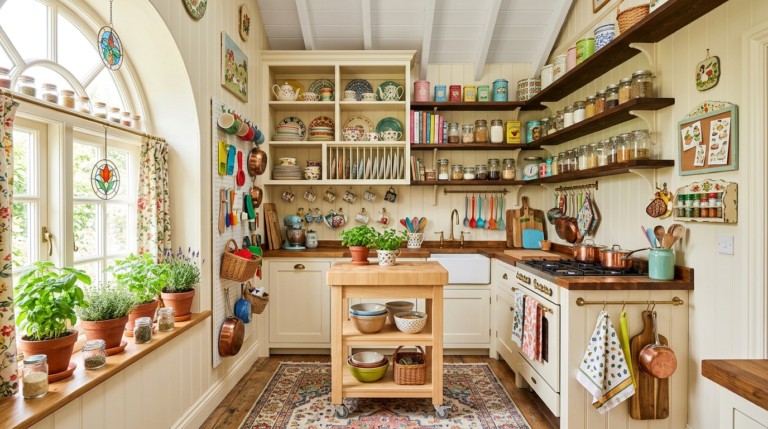
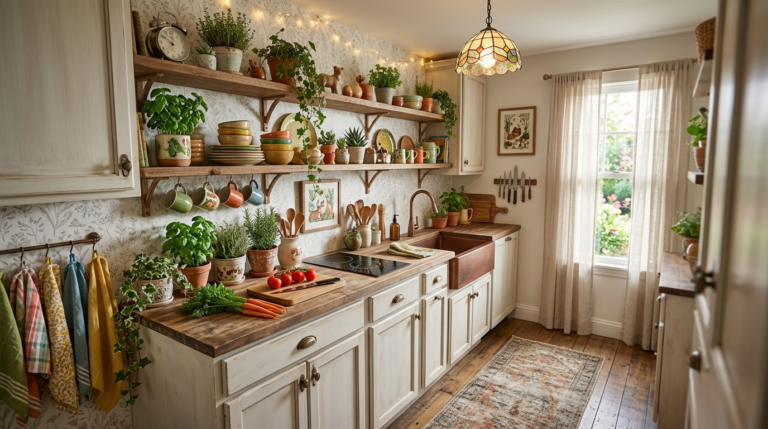
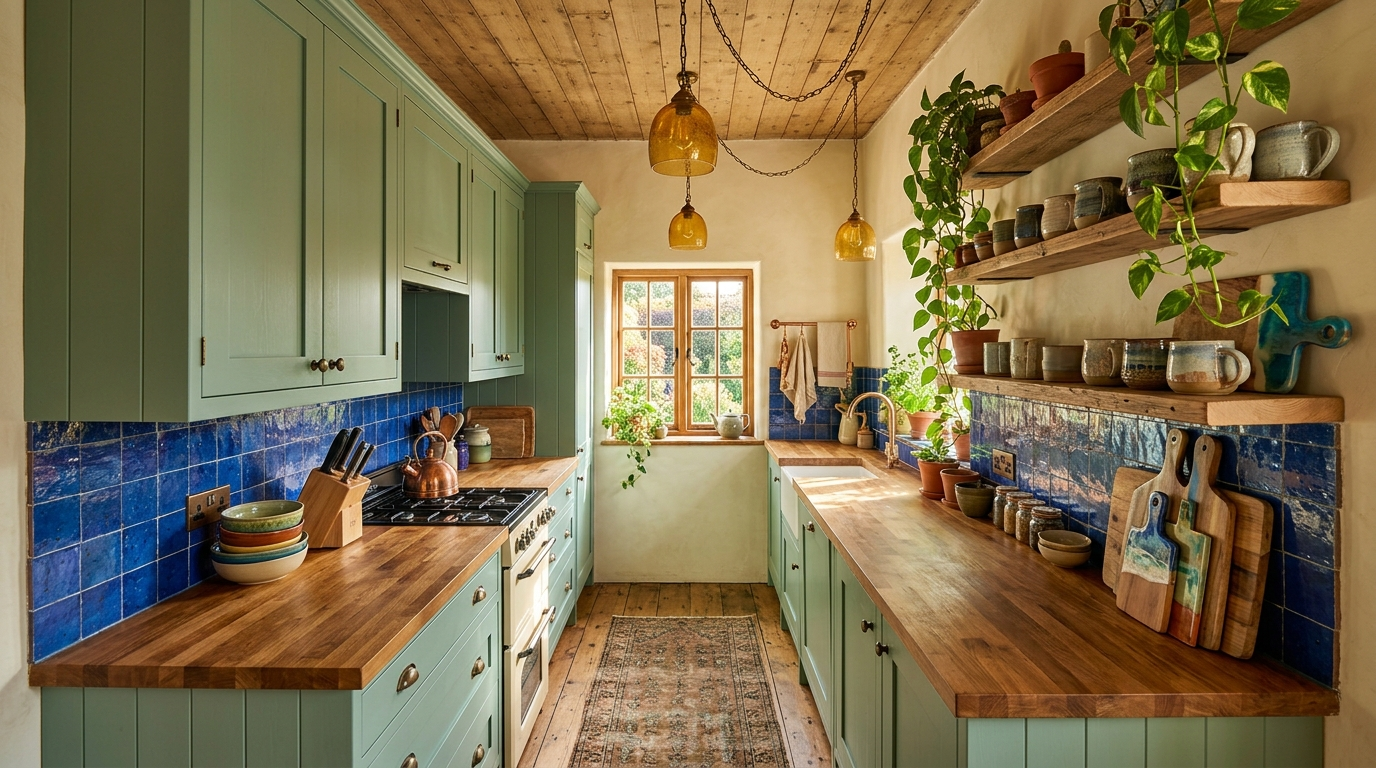
The walls of a small kitchen are the most underused real estate in the home. Installing open shelving up to the ceiling doubles your storage capacity while adding tremendous visual interest. Use the highest shelves for items you rarely reach — seasonal baking equipment, large serving platters, extra stock of dried goods. Keep the eye-level shelves for your daily essentials and your most beautiful objects: hand-thrown ceramic mugs, a collection of colorful cutting boards, a cluster of mismatched pottery.
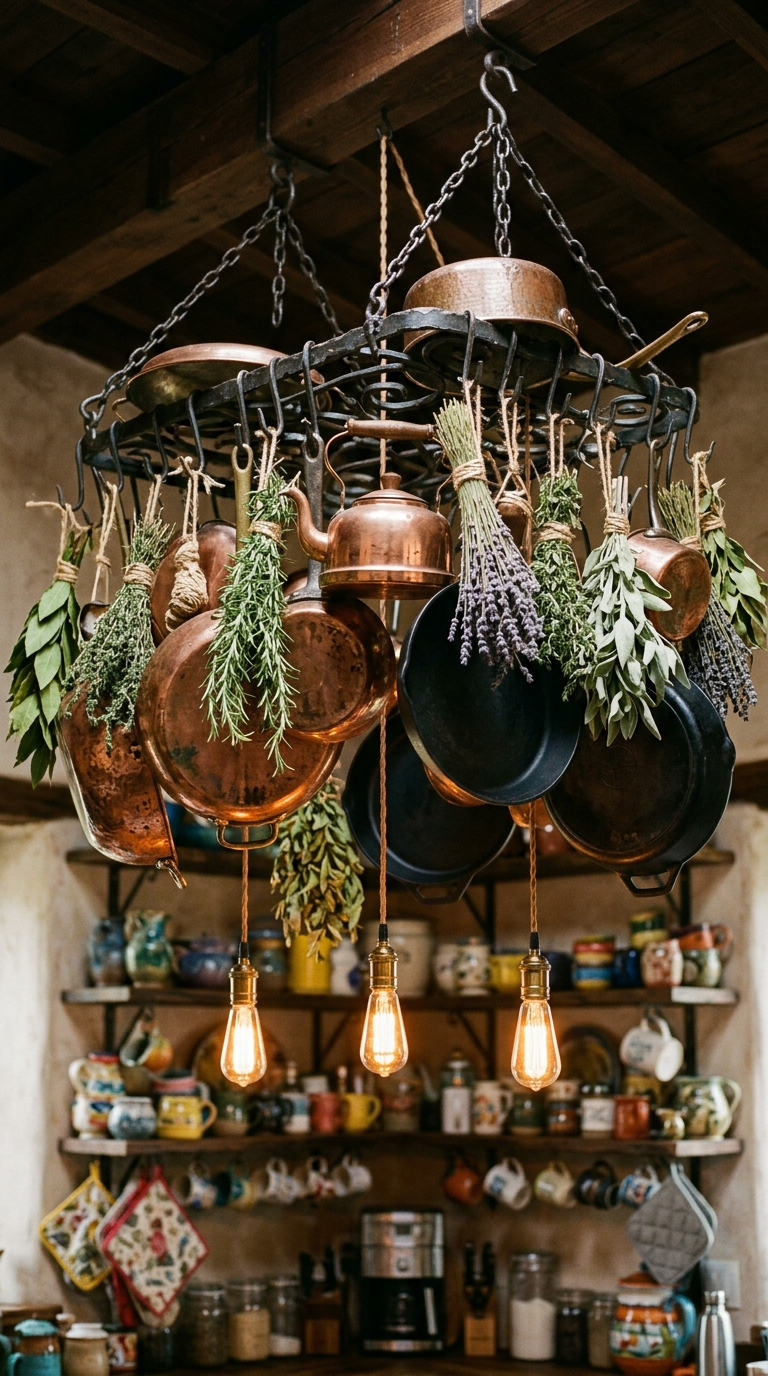
Magnetic knife strips mounted on the side of a cabinet free up an entire drawer. A hanging pot rack above an island or the stove removes your largest items from cabinet storage entirely. A narrow spice rack mounted beside the stove keeps your most-used seasonings at arm’s reach without consuming counter space. Each of these interventions adds function without adding footprint.
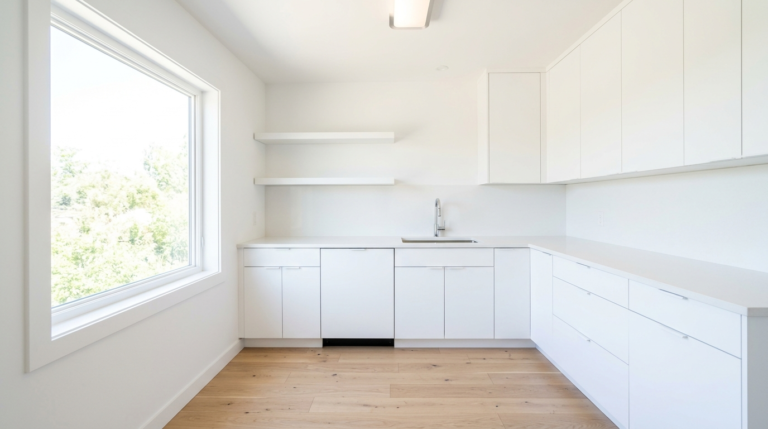
Step 4: Choose Cabinetry That Works Harder
In a small kitchen, your cabinetry decisions carry enormous weight. Floor-to-ceiling cabinetry on one wall — painted in a single, cohesive color — creates a visual anchor and maximizes storage without making the room feel chopped up. Consider mixing open shelving on the upper section with closed cabinets below; this provides both display space and hidden storage, which is exactly the balance a small kitchen needs.
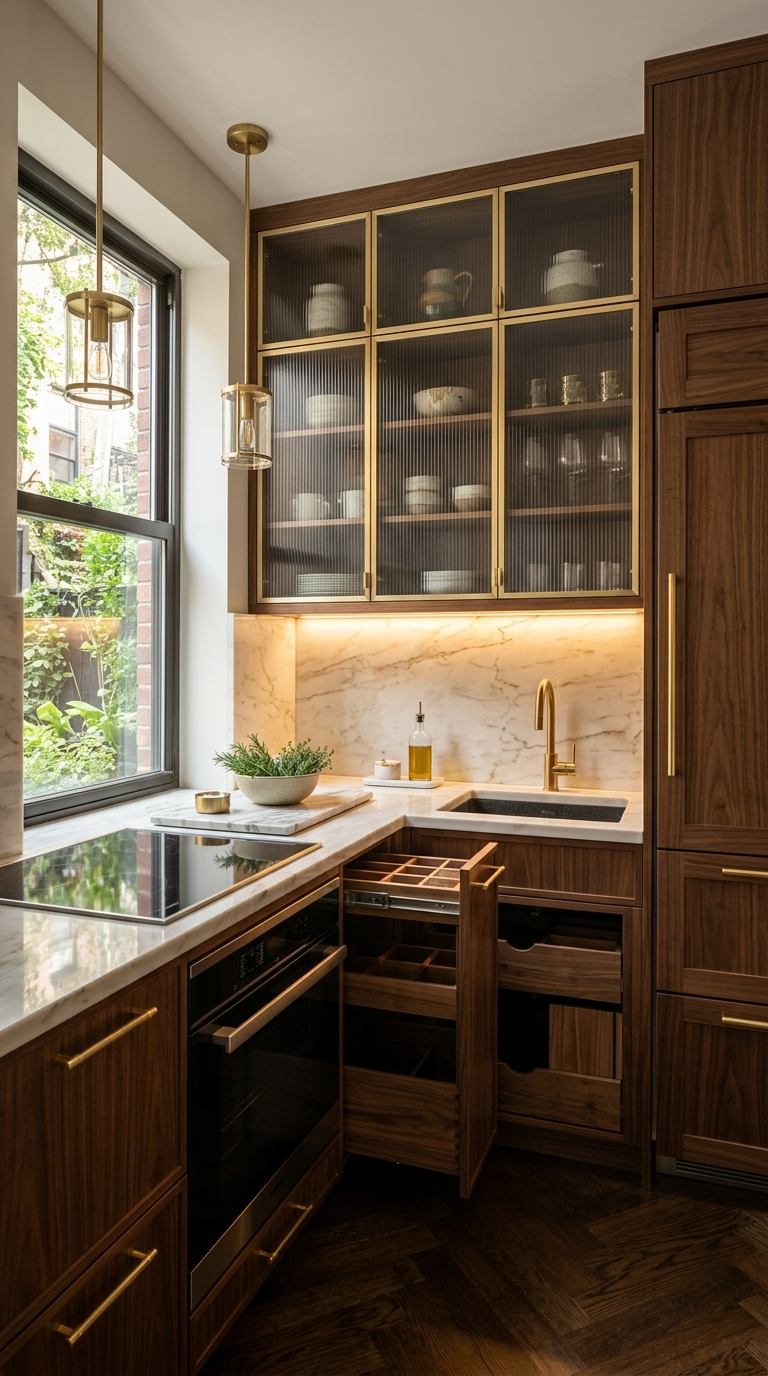
Shaker-style cabinet doors with simple hardware work beautifully in small kitchens because the flat panels reflect light evenly and read as clean without being sterile. Avoid overly ornate or dark wood finishes that absorb light; instead, choose painted finishes in soft whites, warm creams, sage greens, or dusty blues that bounce light around the space and make it feel airy.
Do not overlook the insides of cabinet doors. Mount narrow shelves on the inside of pantry doors for spice jars, lids, and foil rolls. Hang measuring cups and spoons from hooks on the inside of a utensil cabinet. Every interior surface is a potential storage opportunity.
Step 5: Let Light Do the Heavy Lifting
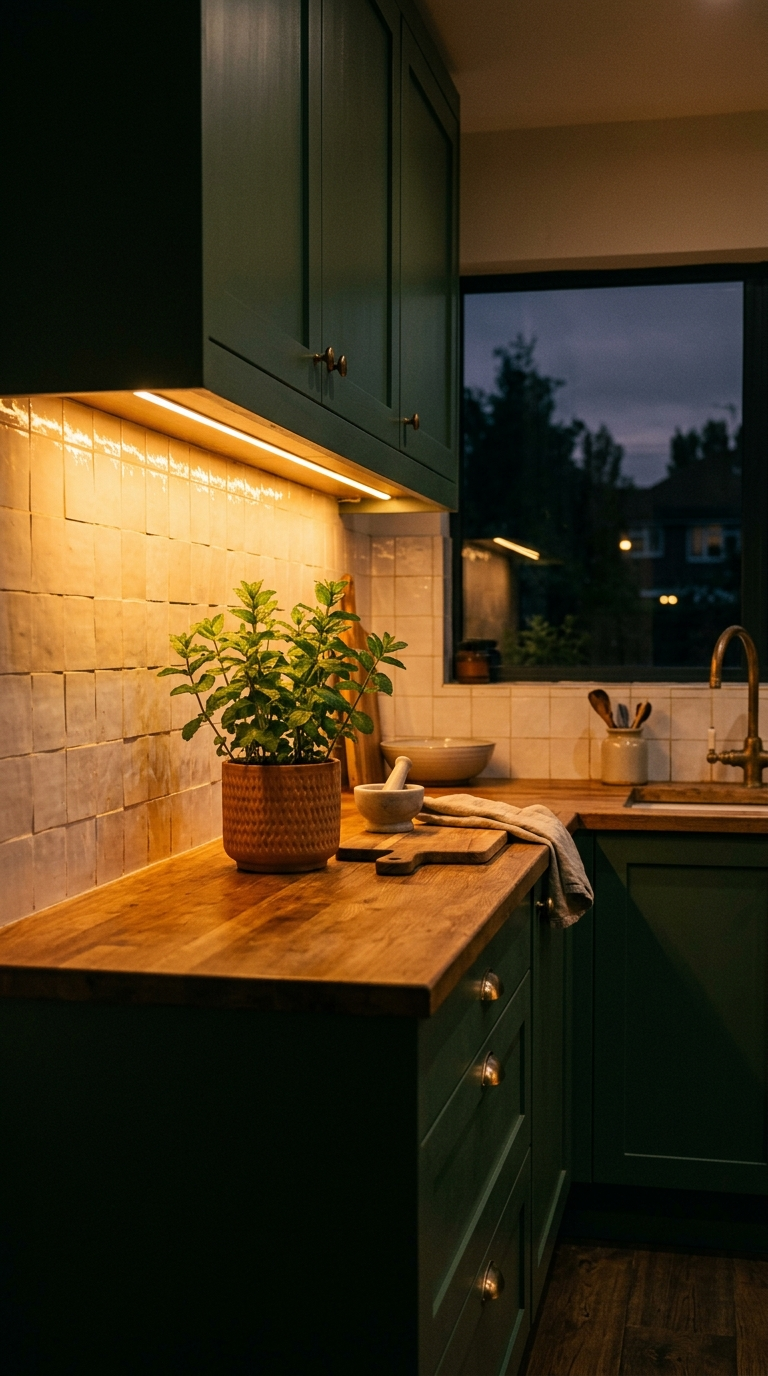
Lighting in a small kitchen is not decorative — it is structural. A poorly lit small kitchen feels like a closet. A beautifully lit small kitchen feels like the most inviting room in the house. Layer your lighting across three levels: ambient (overhead), task (under-cabinet), and accent (inside glass cabinets or beneath open shelves).
Under-cabinet LED strips are the single highest-impact lighting upgrade you can make to a small kitchen. They illuminate your prep surface, eliminate shadow when you are chopping and cooking, and create a warm, cozy glow that makes the kitchen feel welcoming in the evenings. Install them on a dimmer so you can shift from bright task lighting during meal prep to a softer ambient glow during late-night tea.
If your kitchen has no natural light, do not compensate by painting everything white. Instead, use warm-toned lighting at around 2700–3000 Kelvin, choose reflective surfaces like glossy tiles or glass cabinet fronts, and introduce mirrors — a small mirror backsplash or a mirror panel on the end wall of a galley kitchen can double the perceived depth of the space dramatically.
Step 6: Select a Backsplash That Tells a Story
In a small kitchen, the backsplash is the jewelry of the space. Because the area is small, you can afford to go bold in a way that might feel overwhelming in a larger room. Hand-painted ceramic tiles in a Mediterranean pattern, zellige tiles in a deep emerald or cobalt, fish-scale tiles in a warm bronze, or even a single slab of dramatically veined marble — all of these make a statement that elevates the entire kitchen without requiring more square footage.
The key is to let the backsplash be the star and keep everything else supportive. If your backsplash is a rich, complex pattern, keep your cabinetry simple and your countertops neutral. If your backsplash is a single dramatic color — a moody forest green or a saturated terracotta — let it carry the personality of the room and build the rest of the palette around it.
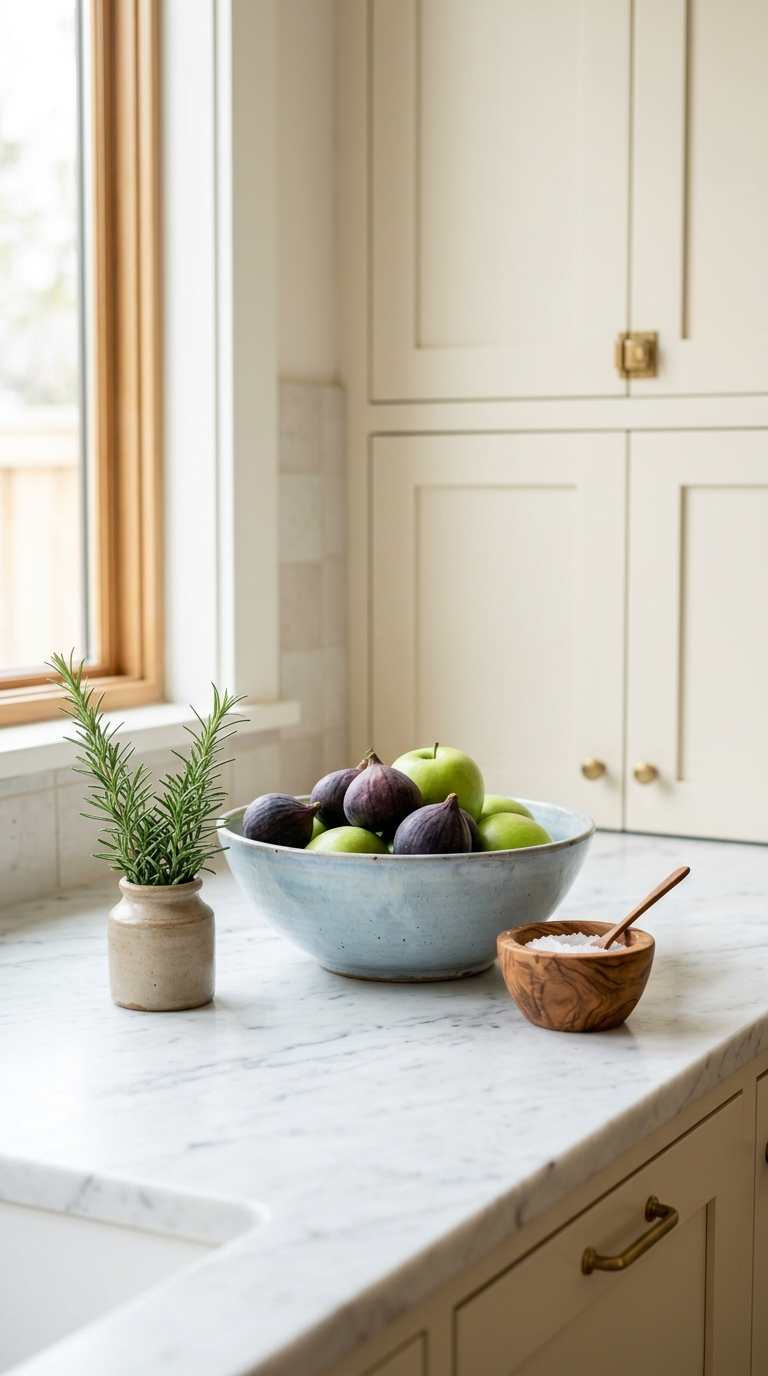
Step 7: Edit Your Countertops Ruthlessly
Every object on a small kitchen counter must earn its place. Appliances that are used less than three times a week should live in a cabinet. This is the rule. The blender, the food processor, the toaster oven — unless you are using them daily, they are consuming counter real estate that your kitchen desperately needs. Reserve counter space for a single beautiful object: a wooden bowl of fruit, a potted herb, a ceramic salt cellar. Let the counter breathe.
If you love having a kettle and toaster on the counter (a deeply reasonable life choice), dedicate one specific zone to small appliances and keep it impeccably neat. A small appliance garage — a built-in cabinet section with a roll-up door — can house everything in one contained area and hide it completely when not in use. The counter appears clear, the appliances are accessible, and the kitchen looks infinitely more spacious.
Step 8: Choose Your Island Wisely
A kitchen island in a small kitchen sounds counterintuitive, but done correctly, it is transformative. The key is scale and mobility. A butcher block island on wheels can serve as prep surface, serving station, and additional storage in a medium-small kitchen, then be rolled out of the way entirely when you need floor space for cleaning or entertaining. Look for islands with shelving or drawer storage below — a wheeled island that also stores pots, cookbooks, or pantry overflow is doing triple duty in a small space.
If a freestanding island is too large, consider a peninsula extension of your existing counter, or a simple pull-out cutting board built into a base cabinet. Even six extra inches of prep surface changes the cooking experience in a meaningful way.
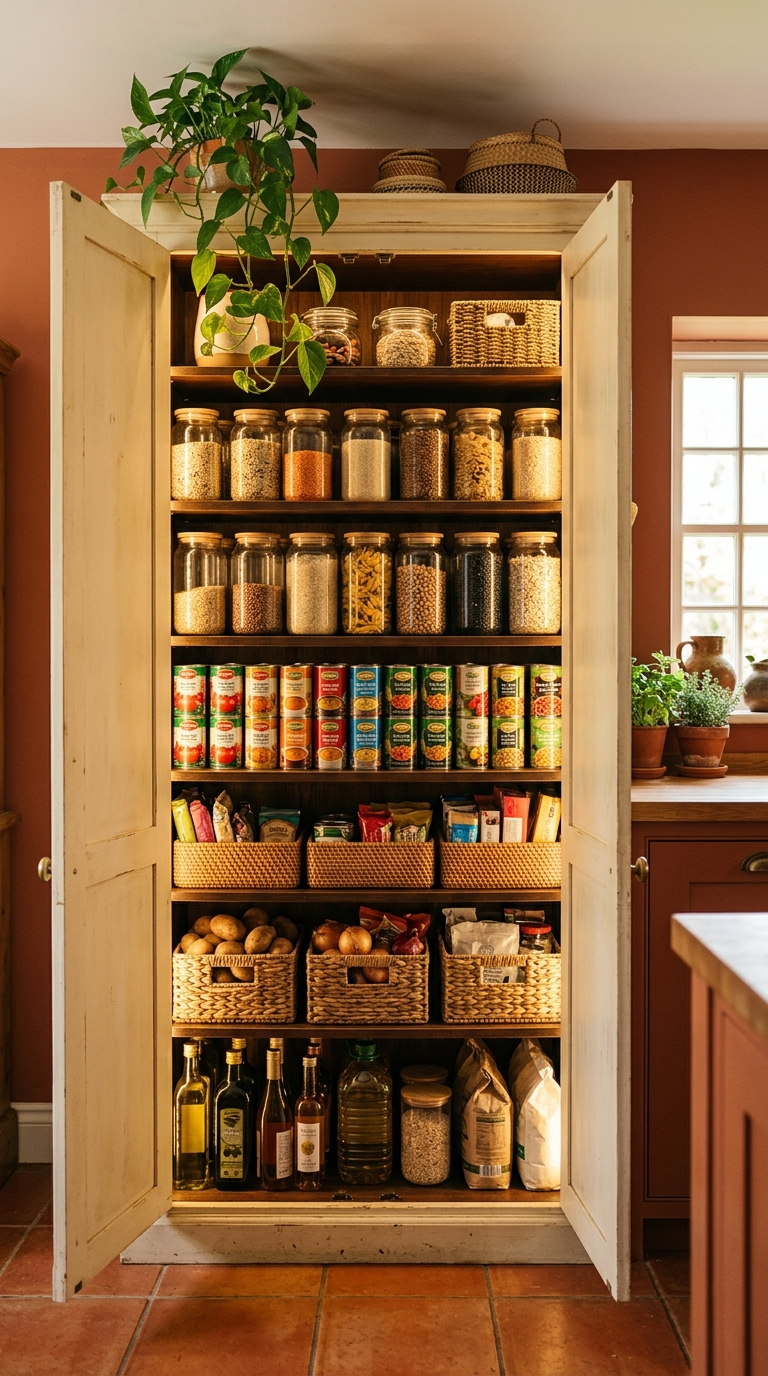
Step 9: Build a Pantry Where None Exists
Many small kitchens lack a dedicated pantry, which means dried goods, canned items, and baking supplies compete for cabinet space with dishes and cookware. Solve this by converting a narrow closet adjacent to the kitchen into a pantry, or by installing a freestanding pantry cabinet in the kitchen itself. A floor-to-ceiling pantry cabinet with pull-out shelves, door-mounted racks, and adjustable interior shelving can store an astonishing amount — essentially the equivalent of three or four standard kitchen cabinets in a single, organized unit.
If no additional floor space is available, consider a narrow pull-out pantry — sometimes called a larder pull-out — installed in a gap between the refrigerator and a wall, or between the stove and a cabinet. These units are as narrow as nine inches wide but can hold dozens of cans, jars, spice bottles, and condiments on multi-tiered shelves that pull out completely for full visibility and easy access.
Step 10: Add Personality Without Adding Clutter
A small kitchen can absolutely have personality — it just has to be intentional personality rather than accumulated personality. Choose one or two decorative anchors: a striking pendant light above a small table or island, a collection of handmade ceramic canisters in a cohesive color family, or a framed piece of botanical art hung in an unexpected place. These anchors give the eye somewhere to rest and communicate that the space is designed rather than merely functional.
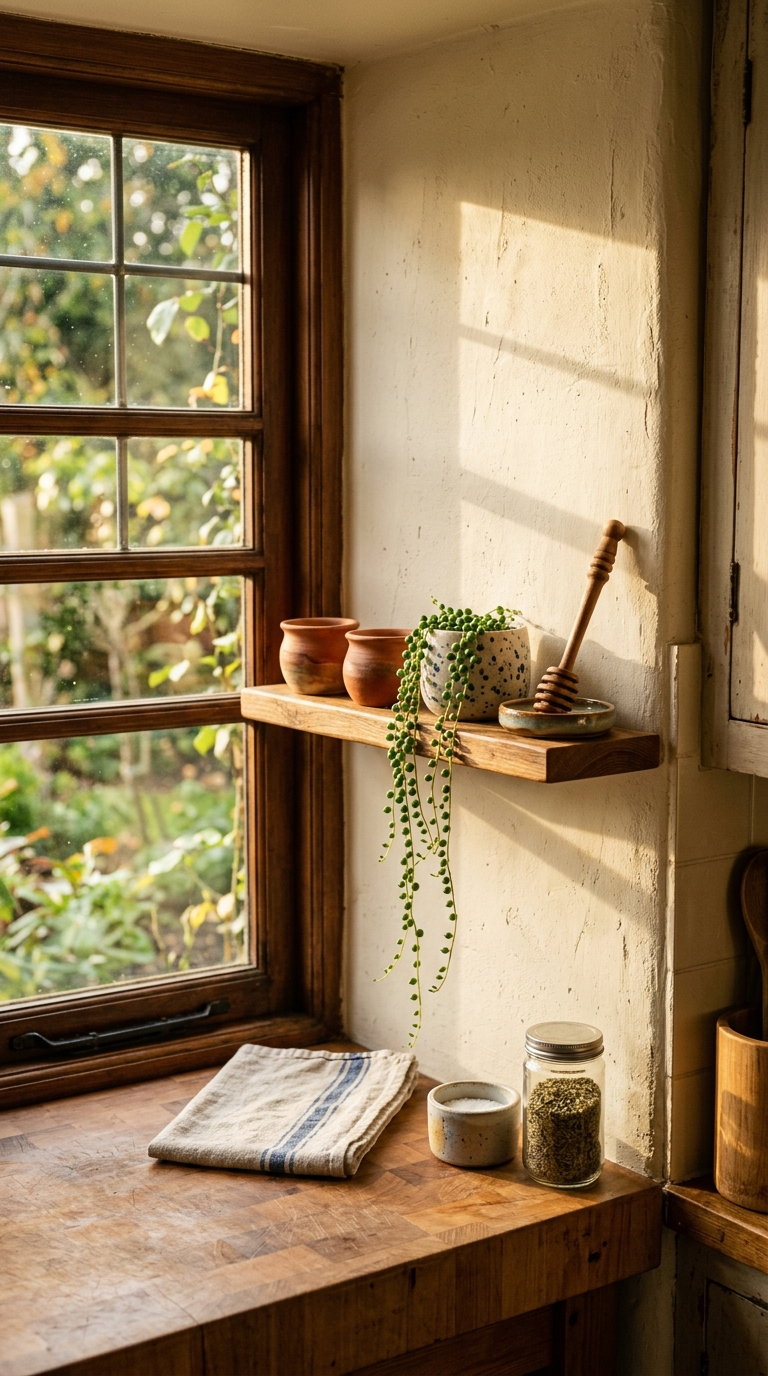
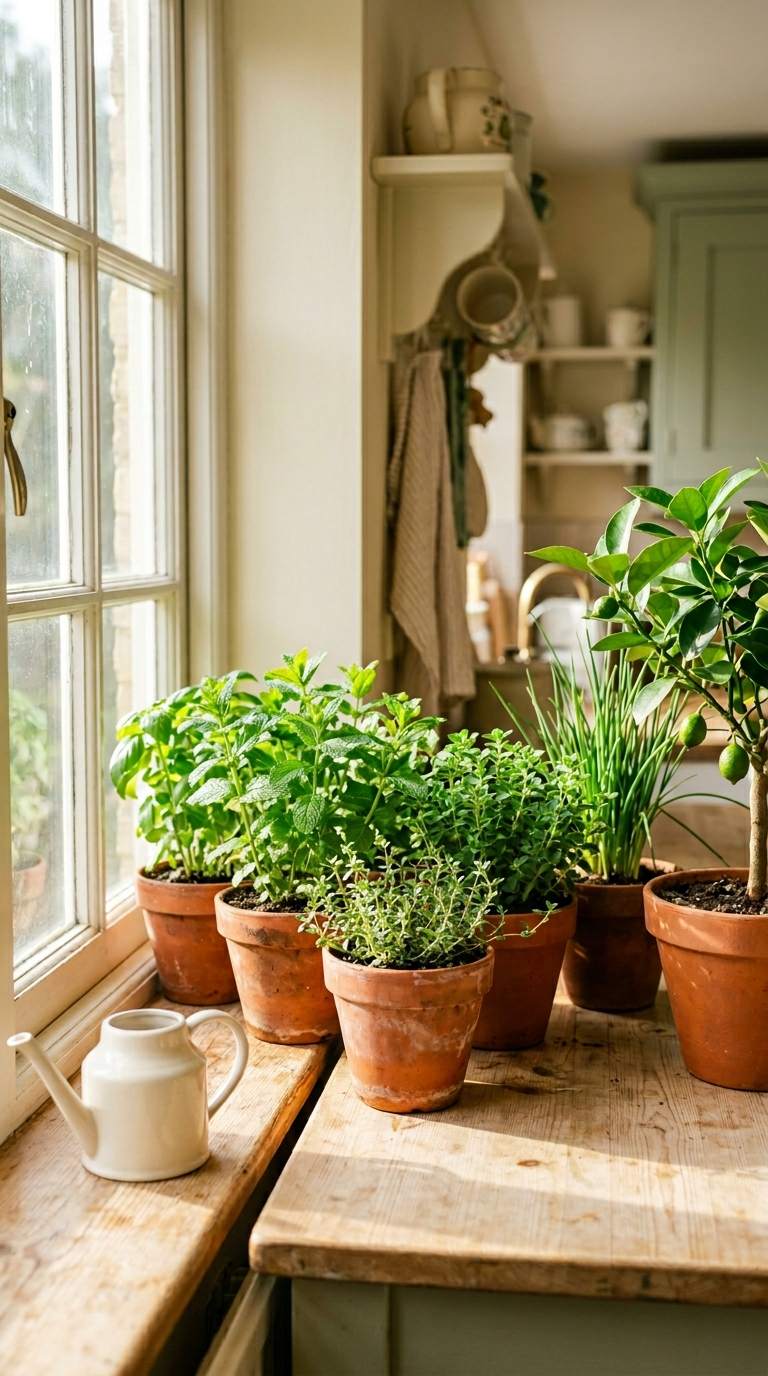
Plants are one of the most effective tools for adding warmth to a small kitchen. A trailing pothos on top of the refrigerator, a small pot of fresh basil on the windowsill, or a cascading string of pearls hanging near the window all add life, color, and a sense of abundance that transcends the size of the room. They cost almost nothing, require minimal space, and transform the feeling of the kitchen entirely.
Your Small Kitchen, Completely Reimagined
The most important thing to remember is that a small kitchen is not a compromise — it is a different kind of kitchen with its own distinct advantages. It is warmer, more intimate, more efficient, and more personal than a large kitchen has any reason to be. When every element is chosen thoughtfully and every inch is used intelligently, a small kitchen becomes one of the most satisfying rooms in a home: a place where creativity and practicality live in constant, joyful negotiation.
Go slow, make intentional choices, and let your small kitchen become the extraordinary, resourceful, deeply personal space it was always meant to be.