How to Design a Beautiful, Functional Bathroom and Laundry Space
The bathroom and laundry room are two of the hardest-working spaces in any home. Day in and day out, they bear the full weight of family life — from early morning routines to late-night laundry emergencies — yet they are frequently the last rooms to receive thoughtful design attention. Too often, these spaces are afterthoughts: functional, yes, but uninspiring. Poorly organized. Visually flat. And yet, with the right approach, both your bathroom and your laundry room can be transformed into spaces that genuinely delight you — rooms that work harder, look more beautiful, and make your daily routines feel less like chores and more like rituals.
In this comprehensive guide, we walk you through every major design decision you will need to make — from choosing the right tile and vanity configuration to maximizing laundry storage in a room that never seems to have enough of it. Whether you are planning a full renovation or simply looking for smart upgrades to your existing space, this guide will give you the tools, language, and inspiration to create a bathroom and laundry that you are genuinely proud of. Let’s get started.
Step 1: Start with a Clear Brief — What Does Your Space Need to Do?
Before you choose a single tile or faucet, sit down and write out a clear brief for your bathroom or laundry room. Ask yourself: who uses this space, and how? A master bathroom used primarily by two adults has entirely different requirements than a family bathroom used by four children. A laundry room that also serves as a mudroom needs completely different storage and surface solutions than a dedicated laundry-only space. A small ensuite bathroom that you want to feel like a luxury hotel room demands a very different approach to material selection and fixture choices than a practical, high-traffic main bathroom.
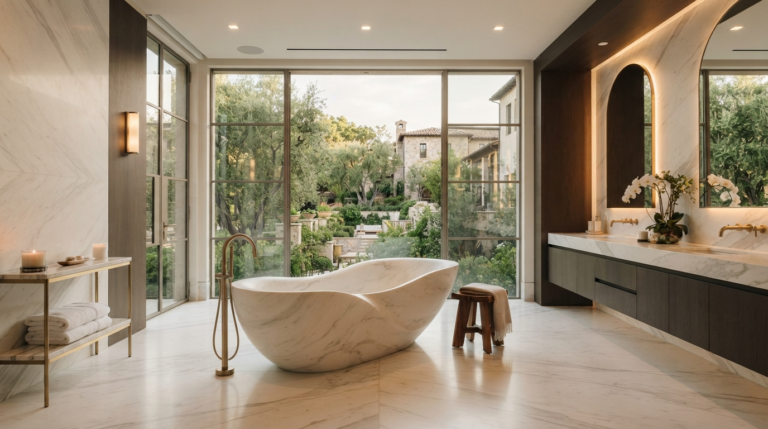
Write down your non-negotiables: the must-have features you absolutely cannot compromise on. These might include a freestanding soaking tub, a double vanity, a fold-down laundry ironing board, or a dedicated hand-wash sink. Then list your nice-to-haves: features that would delight you if the budget and space allow. This hierarchy of priorities will keep you focused throughout the decision-making process and prevent the scope creep that derails so many renovation projects.
Step 2: Choose Your Tile Strategy Wisely
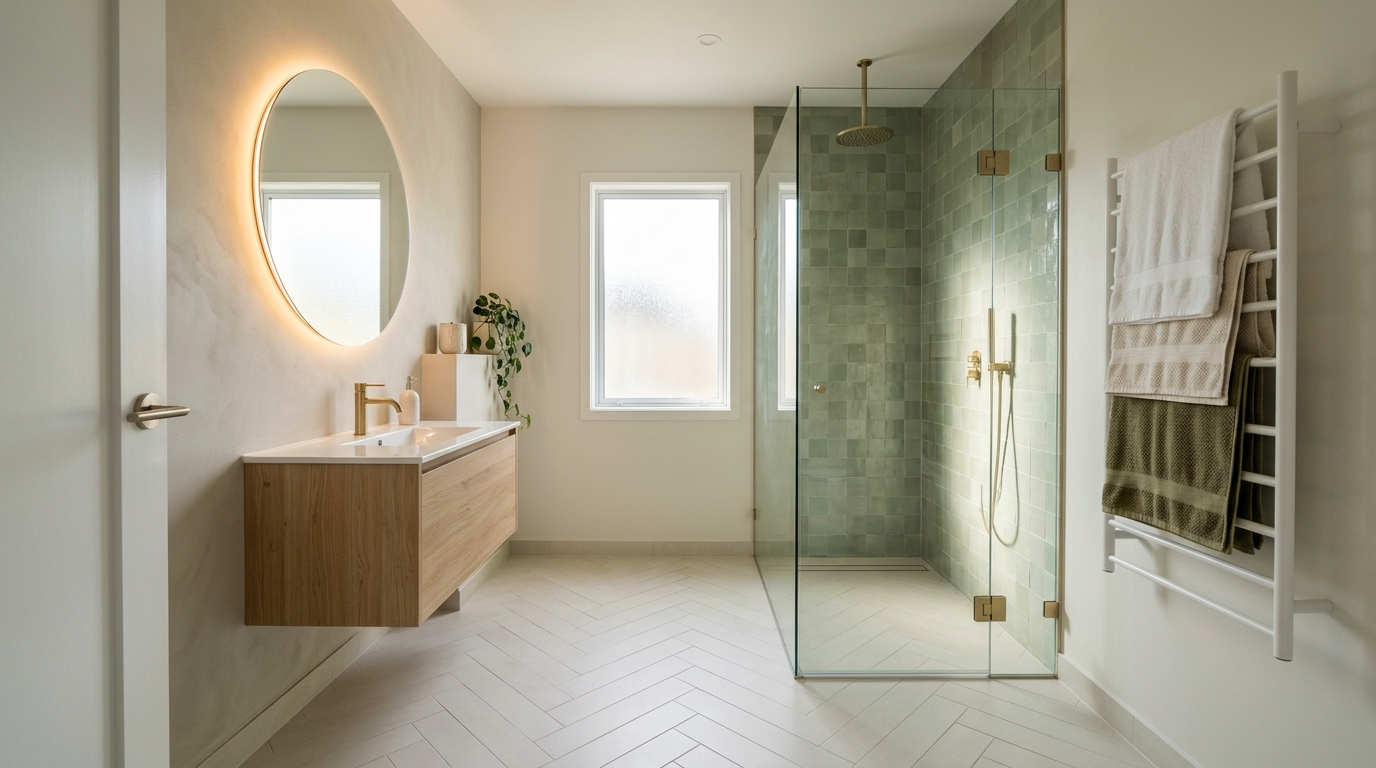
Tile is to the bathroom what paint is to the living room — it is the foundational design decision that everything else works around. And unlike paint, it is expensive and time-consuming to change, so it deserves careful consideration. The most timeless approach is to choose a neutral, large-format floor tile — a matte porcelain in warm white, soft grey, or warm beige — and then introduce personality through smaller format or more decorative tiles as accents. A classic subway tile in a warm off-white on the shower walls provides a clean, neutral backdrop. A more decorative handmade zellige tile in terracotta or sage green as a shower niche feature or a basin splashback adds character and craftsmanship without overwhelming the entire space.
In the laundry room, consider extending your bathroom tile palette for a cohesive, connected feel — particularly if the two rooms share a wall or open to each other. Alternatively, treat the laundry as a more utilitarian space and choose a simple, durable floor tile in a practical mid-tone grey or charcoal that will hide splashes and stains beautifully. Matte finishes are significantly more forgiving than gloss tiles in both rooms — they hide water spots, fingerprints, and minor surface scratches far more effectively.

Step 3: Select a Vanity Configuration That Maximizes Storage
The vanity is the functional heart of the bathroom, and choosing the right configuration is one of the most important decisions you will make. Wall-hung vanities create the illusion of more floor space and make cleaning significantly easier — a practical advantage that becomes more valuable over time. Freestanding vanities with legs have a furniture-like quality that works beautifully in classic and transitional bathrooms. Built-in vanities with drawers and doors provide the most storage, making them the practical winner for family bathrooms.
Deep drawers are almost always more useful than cabinet doors in a bathroom vanity — they allow you to see and access everything at once without burrowing to the back of a dark cabinet. Organize your drawers with bamboo or acrylic dividers to keep categories of products separated: skincare in one section, dental care in another, hair tools in a third. A dedicated drawer with a built-in power outlet for charging devices or operating hairdryers keeps surfaces clear and cords controlled. If you are choosing between a single and double vanity, the double always wins in a shared bathroom — the marginal cost and space increase is more than offset by the elimination of morning bottlenecks.
Step 4: Design Your Shower as a Sanctuary
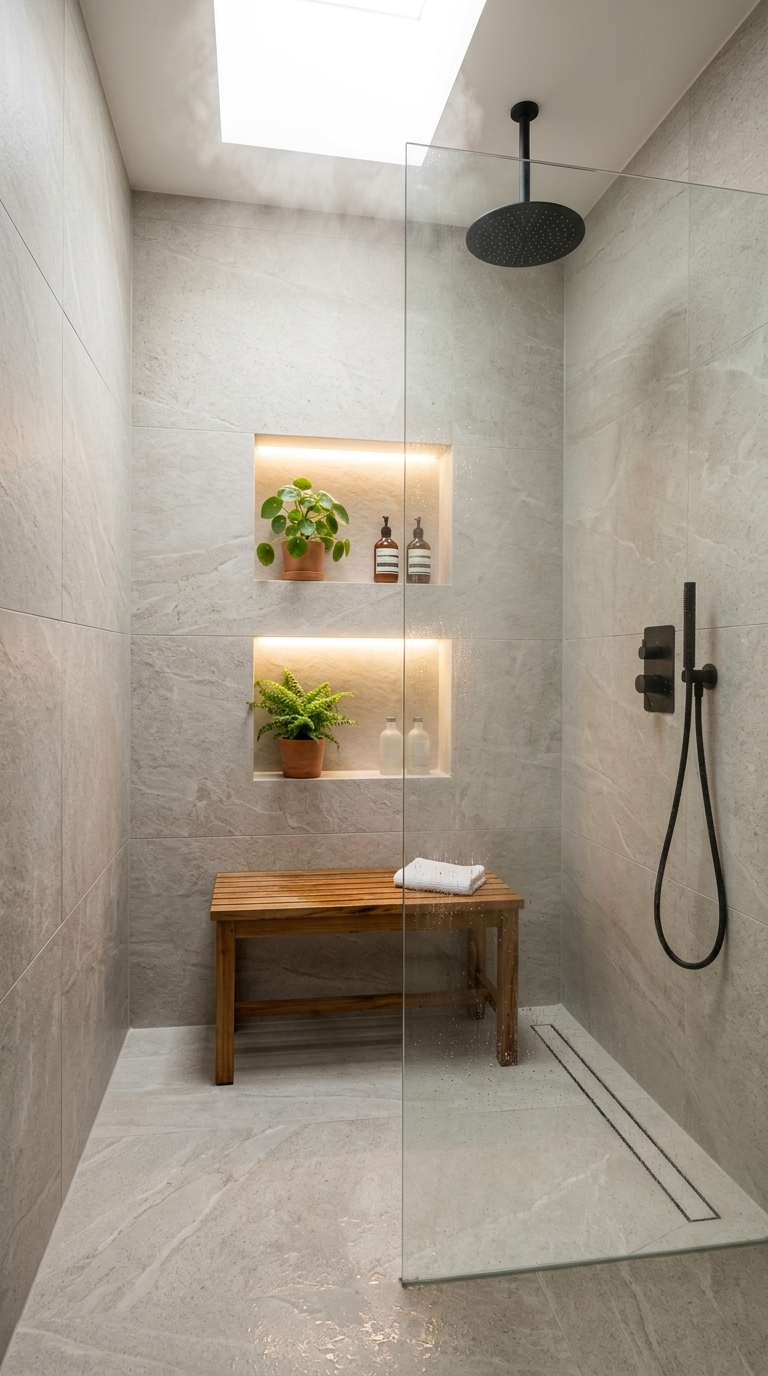
The shower is where the bathroom truly earns its reputation as a retreat. A well-designed shower should feel spacious, luxurious, and deeply functional simultaneously. If you are working with a constrained footprint, a curbless, frameless shower screen creates the least visual interruption and maximizes the sense of openness. Niche storage built directly into the shower wall eliminates unsightly caddy products and keeps the aesthetic clean and hotel-like. Two niches are almost always better than one — one for daily use items and one for less-used products — and positioning them at different heights means the space works for all members of the household.
Rainfall showerheads have become the standard in renovated bathrooms for good reason: the overhead cascade of water provides an unmatched sensory experience that elevates the daily shower from a functional obligation to a genuine pleasure. Pair a ceiling-mounted rainfall head with a separate handheld attachment for flexibility and practicality. For the truly committed bathroom designer, a thermostatic shower valve with separate controls for flow and temperature eliminates the frustration of readjusting the temperature every morning and allows you to pre-set your ideal shower conditions with a single touch.
Step 5: Get the Lighting Right — It Makes or Breaks the Bathroom
Lighting is one of the most overlooked aspects of bathroom design, and it is also one of the areas where most bathrooms fail most dramatically. A single overhead downlight is woefully insufficient for a space that requires different kinds of illumination for different activities: bright, even task lighting at the mirror for grooming; soft, warm ambient lighting for bathing; and practical waterproof lighting inside the shower enclosure. The solution is to layer these light sources deliberately, just as you would in any other room of the house.
Vanity mirror lighting is the most critical investment in bathroom lighting. Side-mounted sconces or a horizontal backlit mirror that provides even, shadow-free illumination at face level is significantly more flattering and functional than overhead light alone, which casts harsh downward shadows across the face. LED strip lighting behind a floating vanity creates a beautiful floating effect and provides a soft ambient glow for nighttime bathroom visits without requiring you to activate the main overhead lights. In the shower recess, a fully waterproof recessed downlight positioned directly above the showerhead ensures the space is properly lit without creating safety risks.
Step 6: Choose Hardware That Ties the Room Together
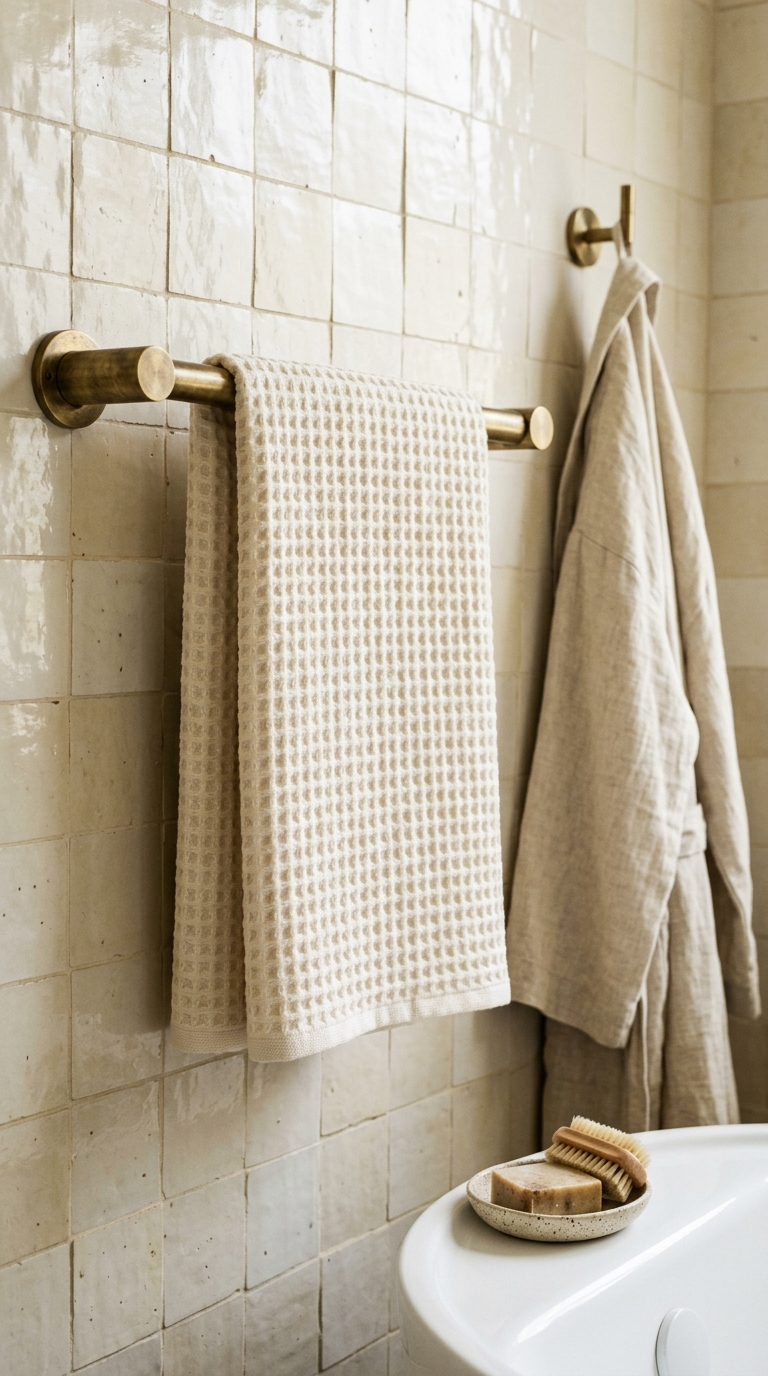
Hardware — towel rails, toilet paper holders, robe hooks, tap fittings, and drawer pulls — is the jewellery of the bathroom. These small, tactile details are touched dozens of times every day, and their quality, finish, and cohesion as a collection make an enormous subconscious impression on how the room feels. The most important rule with hardware is to commit to a single metal finish throughout the room. Mixing gold taps with chrome towel rails and nickel drawer pulls introduces a visual discord that undermines even the most carefully chosen tiles and fixtures.
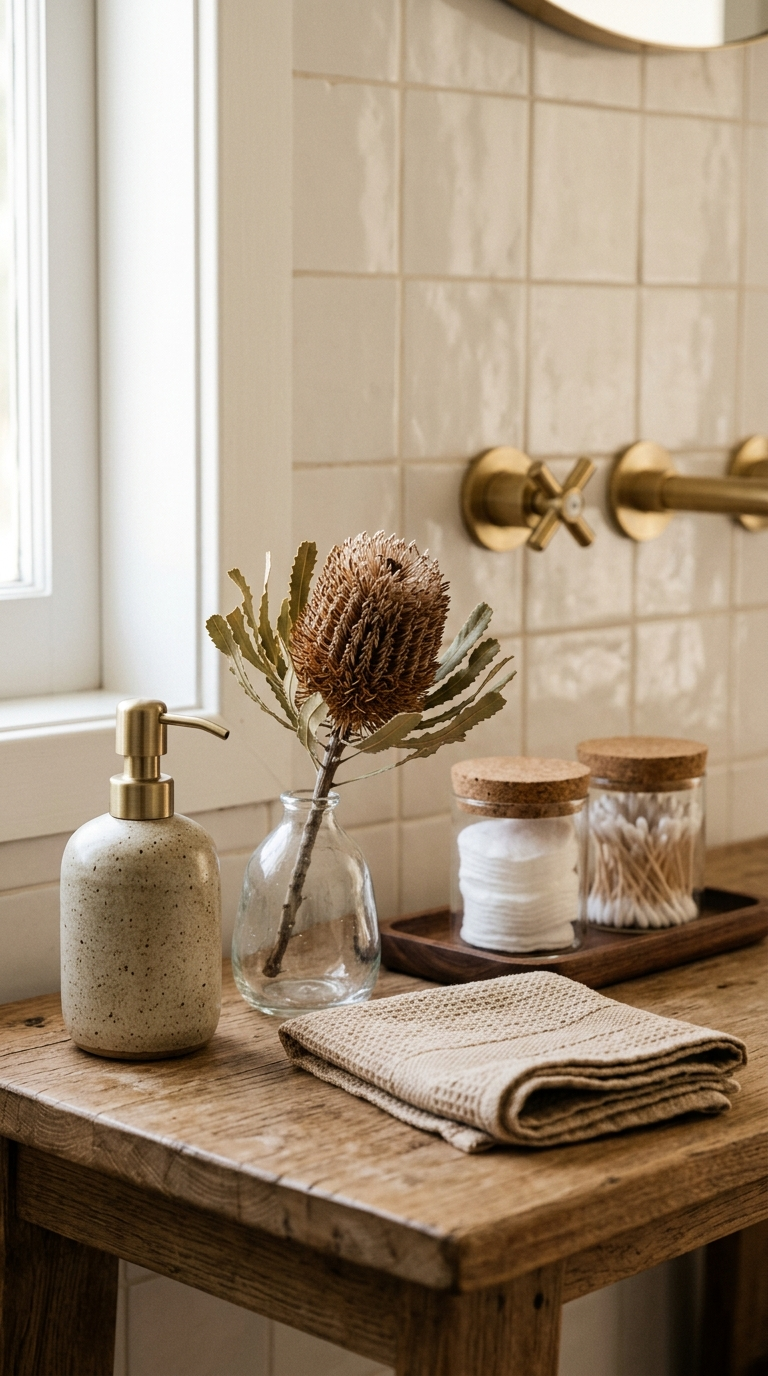
Brushed brass and unlacquered brass are having an extended moment in bathroom design, and for excellent reason — they add warmth to white-dominant spaces, develop a beautiful patina over time, and work harmoniously with both warm neutrals and deep jewel tones. Matte black hardware is a perennial favourite for its graphic quality and its remarkable ability to anchor and ground spaces that might otherwise feel too light. Brushed nickel sits in a cooler, more understated register that suits contemporary Scandinavian-influenced bathrooms perfectly. Whatever finish you choose, buy from the same range and manufacturer whenever possible to ensure exact colour matching between all your fixtures.
Step 7: Design a Laundry That Genuinely Works
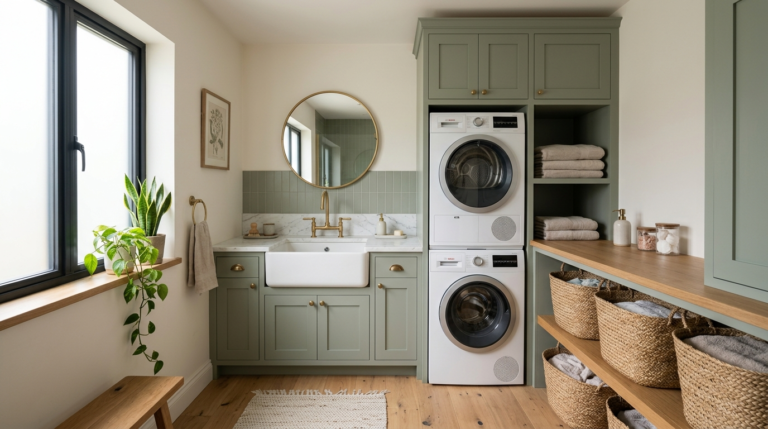
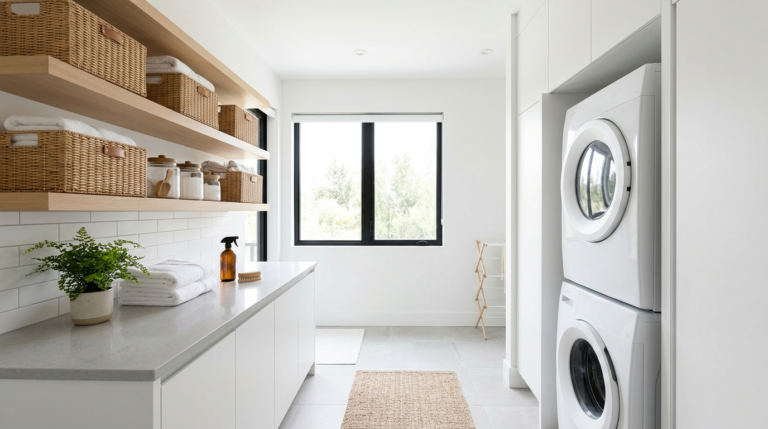
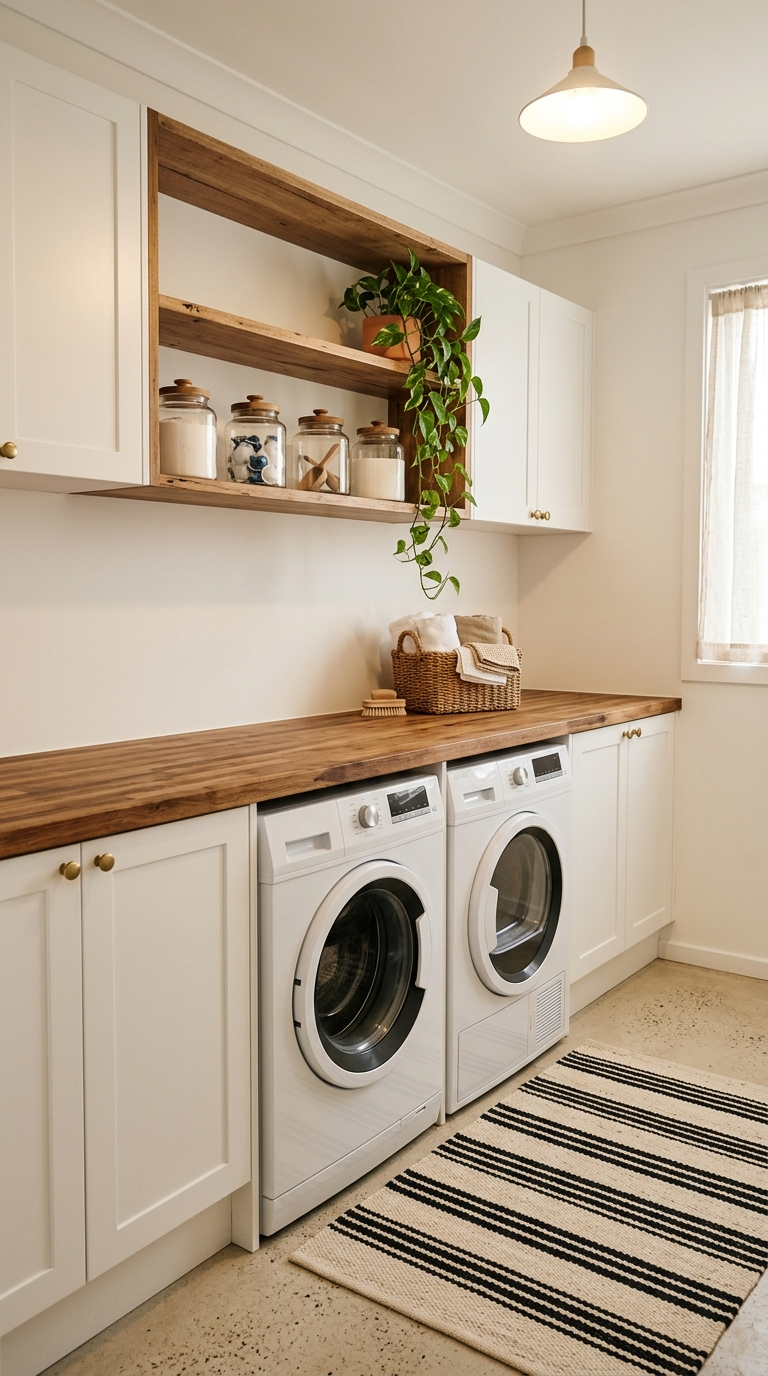
The laundry room is one of the few rooms in the house where function must take absolute precedence over form — but that does not mean it cannot be both. The starting point for any laundry design is the appliance arrangement: side-by-side washer and dryer if width is available, or stacked if the space is narrow. Front-loading machines are almost always preferable to top loaders in a designed laundry, because they can be installed under a continuous benchtop surface — a benchtop that then becomes one of the most useful surfaces in the house for sorting, folding, and treating clothes.
Above the machines, overhead cabinetry provides essential storage for detergents, dryer sheets, and cleaning products — ideally behind closed doors to keep the space looking clean and uncluttered. A pull-out laundry hamper system built into base cabinetry allows sorted dirty laundry to be stored neatly within the cabinetry footprint rather than in freestanding bins on the floor. A retractable clothesline or a ceiling-mounted drying rack that folds flush when not in use maximizes the utility of the space without permanently committing floor or bench space to the drying function.
Step 8: Maximize Vertical Storage in Both Rooms
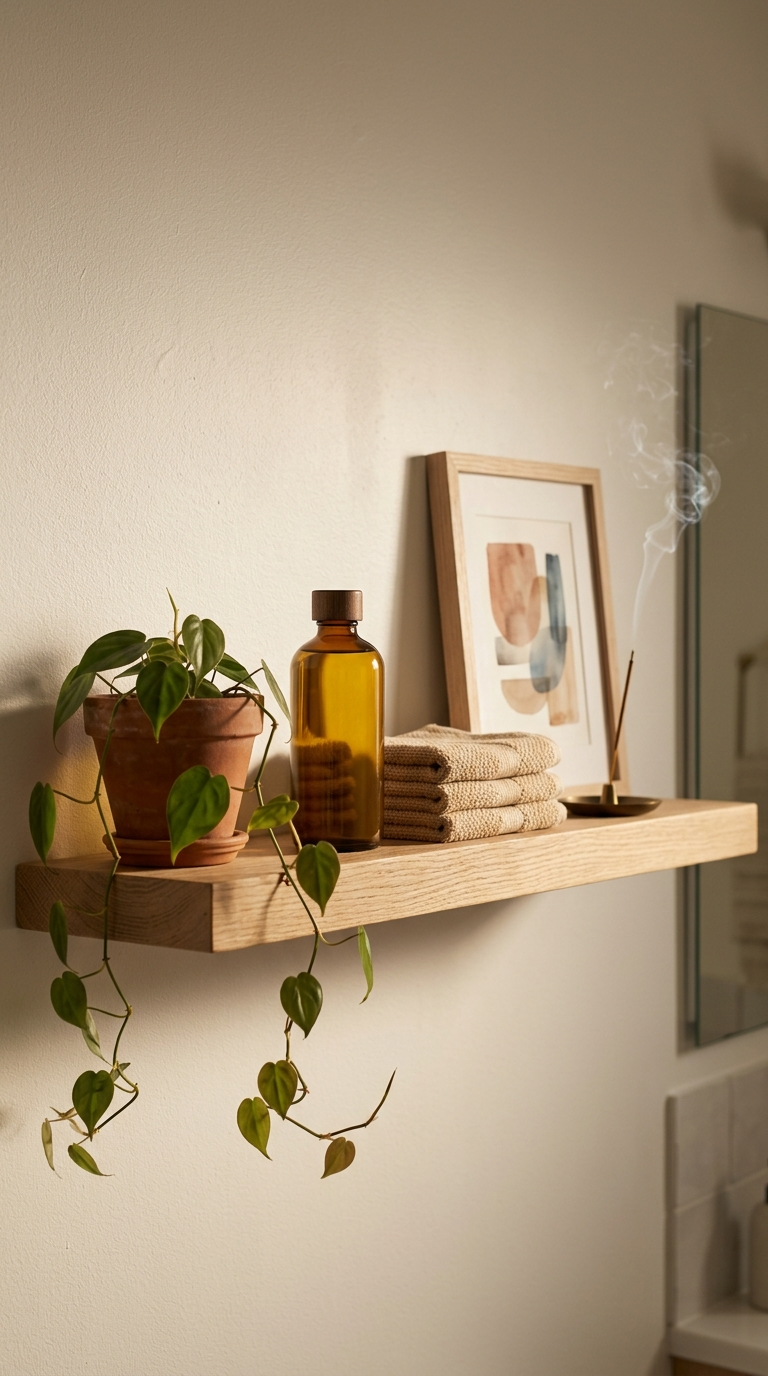
Both bathrooms and laundry rooms tend to have the same fundamental storage challenge: there is never quite enough of it, no matter how much you plan for. The solution is almost always to think vertically — to use the full height of the wall from floor to ceiling rather than stopping at shoulder height. Tall linen cupboards flanking a vanity in the bathroom provide storage for towels, toiletries, and spare supplies that would otherwise crowd the bench. Floating shelves between the mirror and the ceiling provide display and storage space for beautiful glass vessels of cotton balls, glass jars of bath salts, and folded face cloths rolled into tight cylinders.
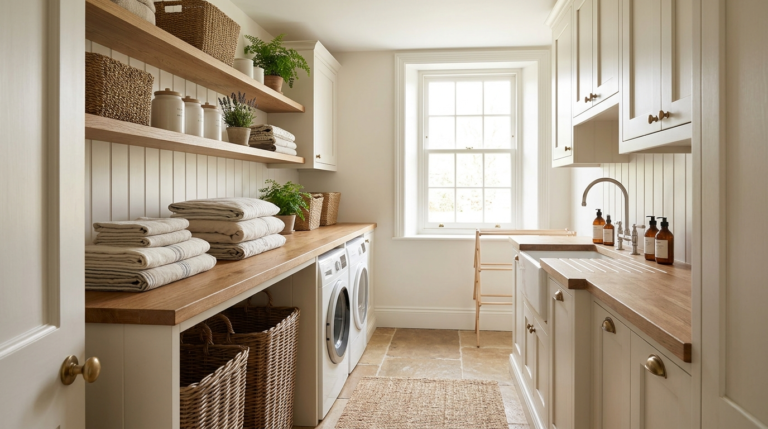
In the laundry, a full-height broom cupboard built into one end of the cabinetry run keeps mops, brooms, and vacuum accessories out of sight. Upper shelving at ceiling height — accessible with a step stool — provides deep storage for infrequently used items like extra duvets, Christmas decorations, and seasonal clothing. Open shelving in terracotta pots or wicker baskets adds visual warmth to what can otherwise be a purely functional space and gives you the flexibility to rotate display items as seasons and tastes change.
Step 9: Introduce Warmth Through Natural Materials and Textiles
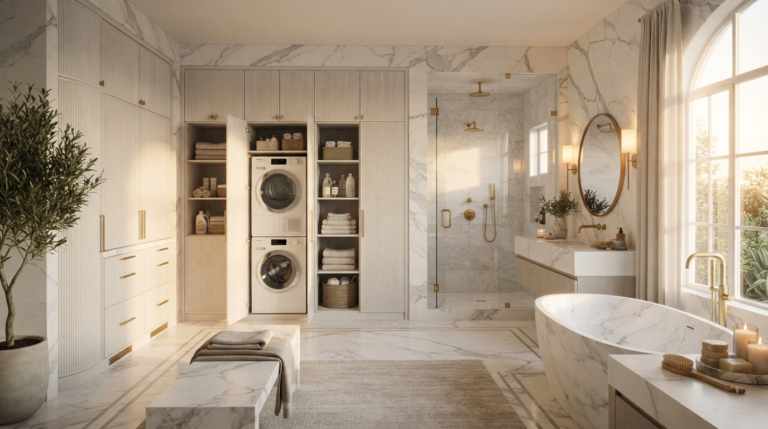
One of the most common criticisms of modern bathroom design is that it can feel cold, clinical, and impersonal — all tile, glass, and chrome with none of the warmth and comfort of other rooms in the home. The antidote is to deliberately introduce natural materials and soft textiles that bring organic warmth into the space. A timber vanity top in oiled oak or teak introduces the warmth of natural wood grain in a material that is genuinely suited to wet environments. A teak bath mat or shower bench brings the same quality into the wet zone itself. Woven storage baskets on open shelving, a cotton waffle bath mat in a warm oatmeal tone, and thick, generously sized towels in a natural linen or organic cotton all contribute to making the bathroom feel less like a laboratory and more like a genuine sanctuary.
In the laundry room, a timber benchtop — sealed thoroughly to withstand moisture — transforms the feel of the space entirely, turning what could be a purely utility room into something that feels considered and domestic. Even small textile additions, like a linen apron hanging on a hook by the door or a striped cotton rug on the floor in front of the machines, soften the hard surfaces and make the room feel more welcoming.
Step 10: Finish with Styling Details That Make It Personal
Once the big design decisions are made and the room is built, the final step is to style it with the personal touches that transform a well-designed room into one that is unmistakably yours. In the bathroom, a single stem of dried flowers in a bud vase on the vanity, a beautiful hand soap in a ceramic pump dispenser, a scented candle in an artisan glass vessel, and a folded stack of perfectly laundered towels in a tone that complements the wall colour are all small details that cost very little but contribute enormously to the overall feel of the room.
In the laundry room, the styling details are more practical but no less considered: matching glass or ceramic jars for decanting laundry powder and fabric softener remove the visual clutter of brightly coloured commercial packaging and make the room feel calm and organised. A small trailing plant on a shelf — a pothos or a heartleaf philodendron — brings life into the room. A printed linen storage basket holding clothespegs adds a domestic, artisan quality that makes even the most utilitarian activity feel a little more pleasant. These finishing touches are what separate a beautiful room from a merely functional one — and they are what will make you genuinely happy to spend time in both your bathroom and your laundry for years to come.
Final Thoughts: Design for the Life You Actually Live
The best bathrooms and laundry rooms are not the ones that look most impressive in photographs — they are the ones that work most seamlessly for the actual daily rhythms of the people who live in them. Great design in these rooms means that the towel rail is positioned exactly where you need it as you step out of the shower. It means that the detergent is stored where you actually use it, not where it is theoretically most convenient. It means that the lighting is always flattering, the surfaces are easy to clean, and every element of the room makes the routine tasks of daily life feel just a little bit more effortless and pleasurable.
Work through the ten steps in this guide methodically, make decisions that prioritize your specific household’s needs over aesthetic trends, and invest in quality where it will have the most daily impact. The result will be a bathroom and laundry that you will love using every single day — and that will add genuine, lasting value to your home for decades to come.