The kitchen and dining area form the heart of any home, where daily routines and special moments unfold. Designing these spaces to work seamlessly together requires thoughtful planning that considers both functionality and aesthetics. This step-by-step guide walks you through the process of creating a cohesive kitchen and dining environment that supports your lifestyle, whether you entertain frequently or simply want a more enjoyable daily experience. From assessing your space and needs to selecting materials, planning lighting, and adding the final decorative touches, each step builds upon the last to create a result that feels intentional and harmonious. The goal is a space where cooking, eating, and gathering flow naturally, with clear zones that support different activities while maintaining visual and functional connection. Whether you are undertaking a major renovation or refreshing an existing layout, these principles will help you make informed decisions that result in a kitchen and dining area you will love for years to come. Let’s begin the journey toward your ideal space.
Step 1: Assess Your Space, Needs, and Lifestyle
Before making any design decisions, take time to thoroughly assess your current space and how you actually use it. Measure the room carefully, noting dimensions, window and door placements, electrical outlets, plumbing locations, and any architectural features that might influence your design. Consider your household size, cooking habits, and entertaining frequency. Do you cook elaborate meals daily or prefer simple preparations? How often do you host gatherings, and what is the typical number of guests? Do you need a dedicated dining table for formal meals, or does a casual island or peninsula suffice for most occasions? Understanding these practical realities will guide every subsequent choice and help you avoid costly mistakes. Create a wish list of must-have features and nice-to-have elements, then prioritize based on your budget and timeline. This foundational step ensures that your final design truly supports your lifestyle rather than imposing an impractical ideal. Many homeowners skip this critical assessment and end up with beautiful spaces that do not function well for their actual needs. Take the time now to observe how you move through the space during a typical day or week, noting pain points and opportunities for improvement.
Beyond measurements and usage patterns, consider the emotional and social role your kitchen and dining area play in your home. Is this a space where family members gather naturally throughout the day, or does it feel separate from the main living areas? Do you envision it as a warm, welcoming hub for casual meals and conversations, or a more formal setting for special occasions? These intangible qualities will influence your material selections, color palette, and overall atmosphere. Document your findings with photos, notes, and even simple sketches to refer back to throughout the design process. If you are working with a designer or contractor, this assessment provides essential information that leads to better outcomes. The time invested in this first step pays dividends throughout the project by preventing miscommunications and ensuring that every decision aligns with your real needs and aspirations for the space.
Step 2: Choose the Right Layout for Flow and Functionality
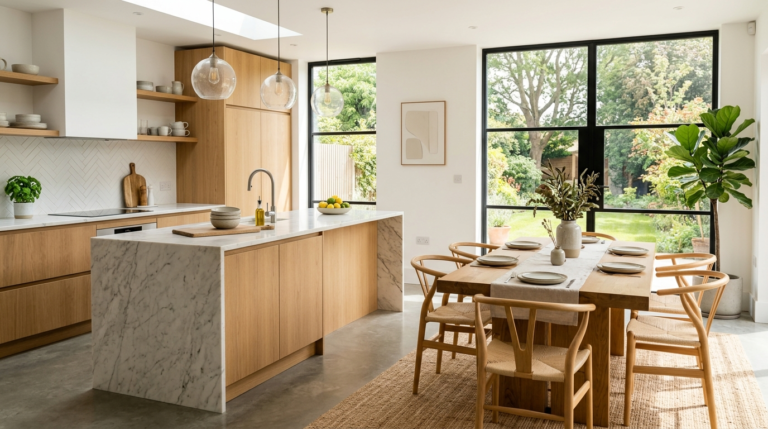
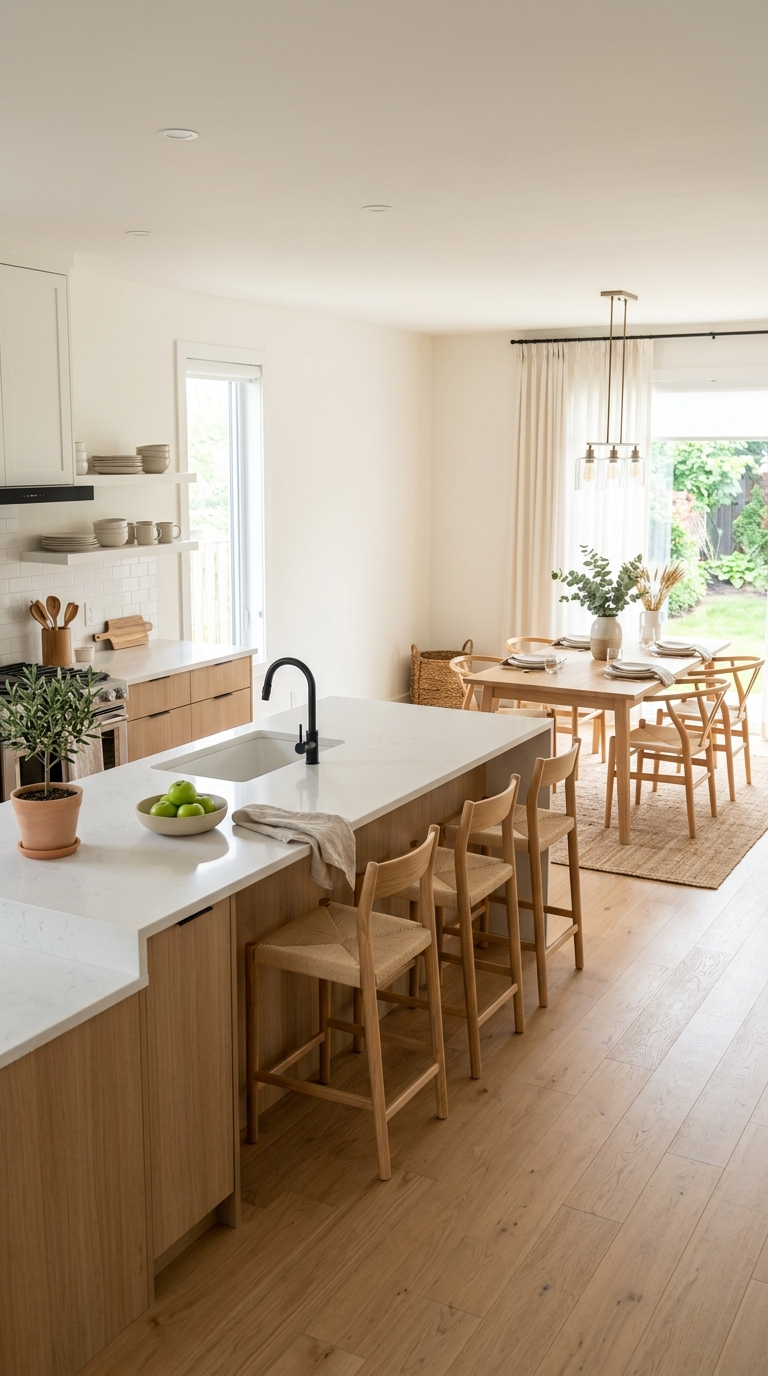
With your assessment complete, the next step is determining the optimal layout for your kitchen and dining areas. Popular options include open-plan designs where kitchen and dining flow into living spaces, L-shaped or U-shaped kitchens with adjacent dining areas, central islands with built-in seating, or peninsula configurations that create natural separation while maintaining connection. Each layout has distinct advantages depending on your space dimensions, traffic patterns, and how you entertain. Islands work beautifully in larger spaces and provide additional prep surface, storage, and casual seating, but they require adequate clearance on all sides for comfortable movement. Peninsulas can define the kitchen zone while offering a transition to dining without requiring as much floor space. For smaller homes or apartments, consider combining functions with a dining table that doubles as additional prep space or using banquette seating that maximizes efficiency. The key is creating clear work zones in the kitchen—cooking, prep, cleanup—while ensuring the dining area feels connected yet distinct enough for comfortable meals.
When evaluating layout options, consider the work triangle principle for the kitchen area while also thinking about how people will move between cooking and dining zones during meals and gatherings. Avoid placing the dining table in a high-traffic path or too close to the cooking area where heat, steam, and activity might interfere with conversation. If your space allows, create a gentle transition zone—perhaps with a change in flooring, a low console, or simply strategic furniture placement—that signals the shift from kitchen to dining without creating a hard barrier. For homes with open floor plans, use consistent materials and color palettes to unify the spaces while employing furniture arrangement and lighting to define distinct activity zones. Professional designers often create multiple layout options for clients to consider, using scaled drawings or 3D renderings to help visualize how each configuration will feel in daily use. Take time with this step, as the layout forms the foundation upon which all other design elements build.

Step 3: Select Cabinetry, Storage, and Materials
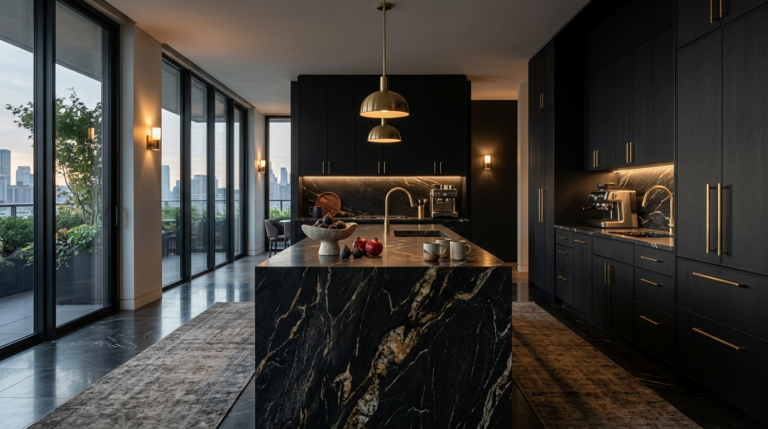
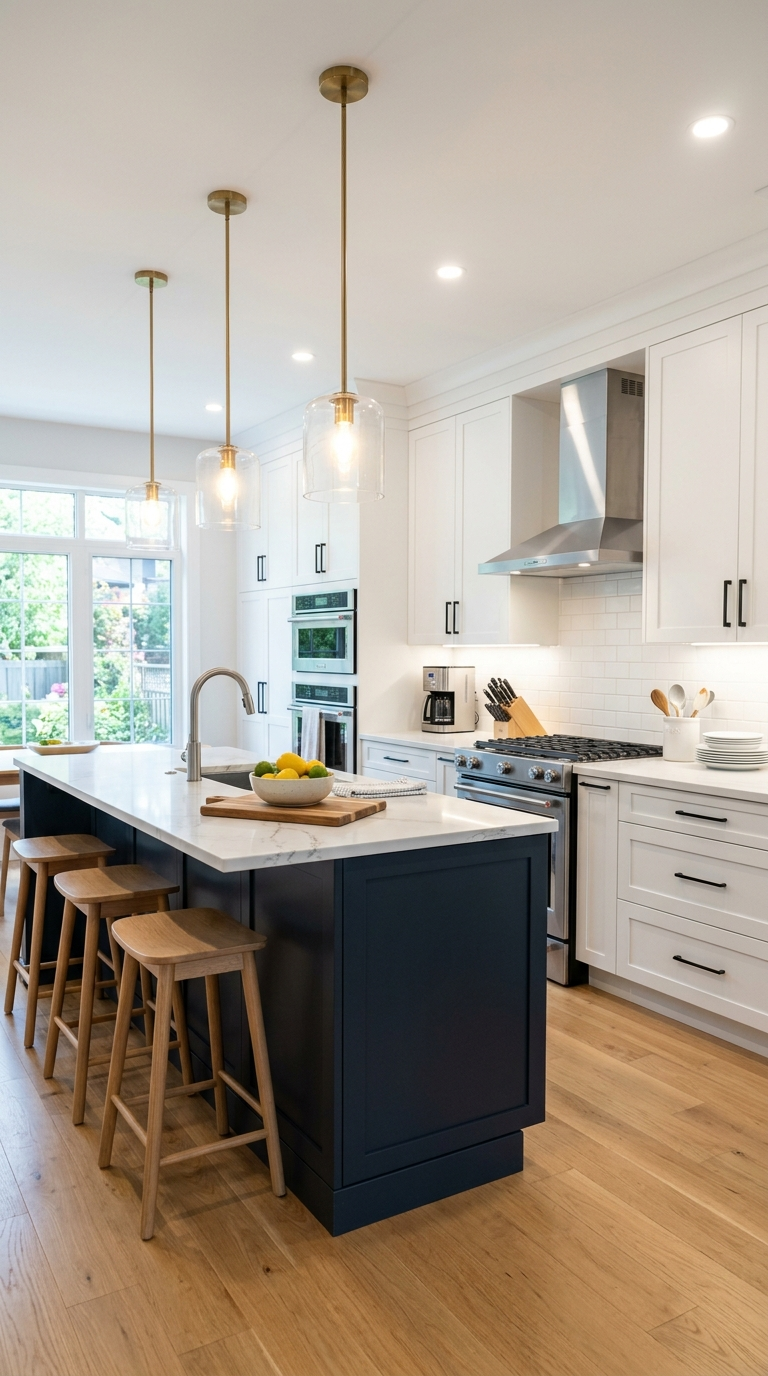
Cabinetry and storage solutions form the backbone of any kitchen design, and choosing the right style, finish, and configuration is essential for both functionality and aesthetics. For a seamless kitchen-dining connection, consider extending cabinetry or open shelving into the dining area for visual continuity, or using a consistent material palette that ties the spaces together. Flat-panel or shaker-style cabinets in light or neutral tones create a clean, timeless foundation that works well with various dining styles. For more personality, consider two-tone cabinetry with a darker finish on the island or lower cabinets and lighter tones above, or incorporating open shelving for display and easy access to frequently used items. Storage planning should address both everyday needs and less frequently used items, with deep drawers for pots and pans, pull-out organizers for small appliances, and dedicated zones for dishes, glassware, and linens that serve the dining area. Quality hardware in finishes that complement your overall palette adds subtle polish while ensuring smooth operation for years to come.
Material selection extends beyond cabinetry to countertops, backsplashes, and flooring, each contributing to the overall cohesion and functionality. Choose durable, easy-to-maintain surfaces for high-use areas, and consider how materials will interact with lighting and each other. Light-colored countertops with subtle veining or texture provide contrast and brightness, while darker options create drama and hide wear. Backsplashes can be simple and understated to let other elements shine, or more dramatic as a focal point. Flooring should be practical for kitchen use while creating a comfortable, inviting atmosphere for dining—large-format tiles, engineered hardwood, or luxury vinyl planks all offer different advantages. When selecting materials, request samples to see how they look together in your actual lighting conditions throughout the day. This step is where your vision begins to take tangible form, and thoughtful choices here create the foundation for a space that feels both beautiful and highly functional for years of daily use and special occasions.
Step 4: Plan Layered Lighting for Atmosphere and Function
Lighting is one of the most transformative elements in kitchen and dining design, and a layered approach ensures both functionality and ambiance. Begin with ambient lighting that provides overall illumination—recessed ceiling fixtures, cove lighting, or large pendants that distribute light evenly. Task lighting is essential for work areas; under-cabinet strips illuminate countertops, pendant lights over islands provide focused light for prep, and directional fixtures highlight sinks and cooking surfaces. Accent lighting adds drama and warmth—inside glass-front cabinets, along open shelves, or as picture lights highlighting artwork in the dining area. For the dining zone, a statement chandelier or linear suspension over the table creates a focal point and sets the mood for meals, while dimmers allow you to adjust brightness for different occasions from casual breakfasts to formal dinners. The most successful lighting plans consider how natural light enters the space throughout the day and supplement it thoughtfully with artificial sources that can be adjusted as needed.
When planning your lighting, think about the experience of being in the space at different times and for different activities. Bright, even lighting supports efficient meal preparation and cleanup, while softer, warmer lighting creates intimacy for dining and conversation. Smart lighting systems offer convenience and flexibility, allowing you to preset scenes for morning routines, evening meals, or entertaining. Consider the color temperature of your light sources—warmer tones (2700K-3000K) feel more inviting for dining areas, while cooler, brighter light (3500K-4000K) supports detailed tasks in the kitchen. The fixtures themselves should complement your design style, whether modern minimalist, transitional, or traditional. Proper lighting planning prevents the common mistake of relying on a single overhead fixture that creates harsh shadows and unflattering illumination. With thoughtful layering, your kitchen and dining area will feel welcoming and functional from early morning through late evening, supporting every activity with appropriate light quality and quantity.
Step 5: Choose Dining Furniture and Define the Transition
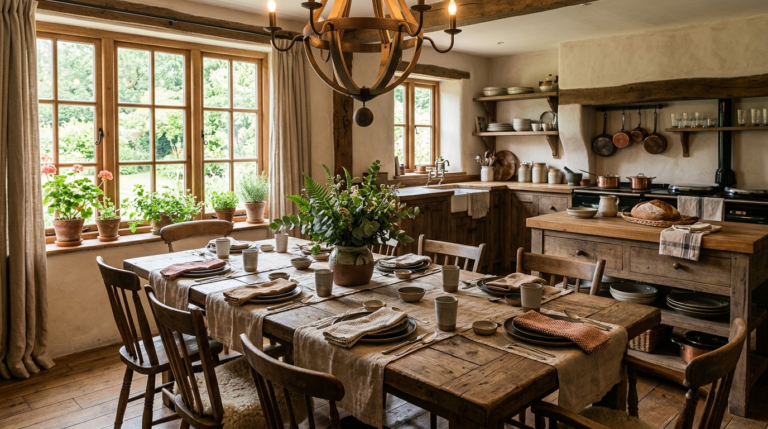
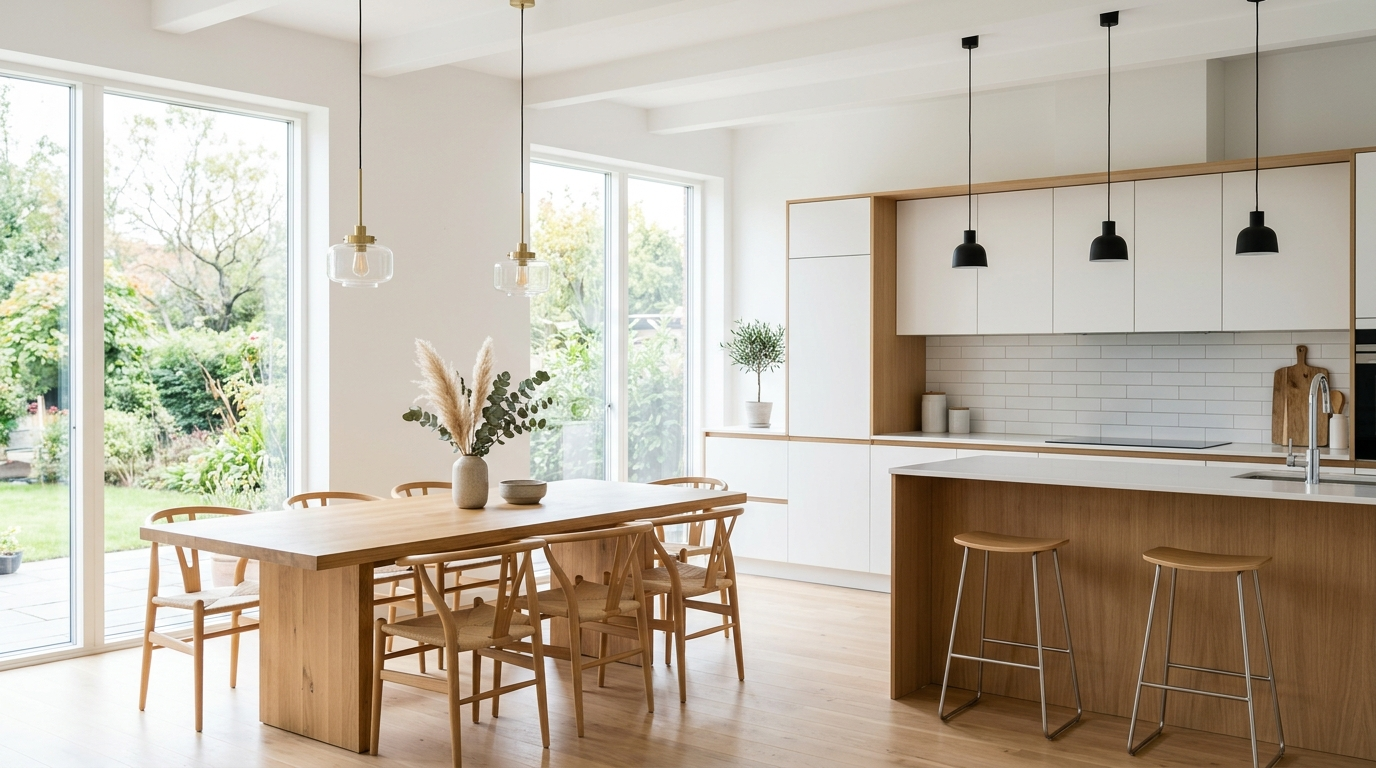
Selecting dining furniture that complements your kitchen while creating a comfortable, inviting gathering space is crucial for the overall success of your design. The table and chairs should be appropriately scaled for your room and typical number of diners, with enough clearance for comfortable seating and movement. Consider extendable tables for flexibility if you entertain guests of varying numbers. Chair selection balances comfort, style, and durability—upholstered seats add softness and elegance, while wood or metal options offer clean lines and easy maintenance. Beyond the main dining set, think about additional seating options like a bench along one side of the table for a casual feel, or a small lounge area nearby for pre-dinner drinks and conversation. The transition between kitchen and dining can be defined subtly through furniture placement, a change in ceiling treatment, or simply consistent flooring with area rugs that anchor the dining zone. The goal is connection without confusion—spaces that feel distinct yet part of a unified whole.
When choosing dining furniture, consider how it will interact with the kitchen elements and the overall flow of the space. A table positioned to allow easy serving from the kitchen without requiring excessive movement creates a more enjoyable experience for both hosts and guests. If your layout includes an island or peninsula with seating, think about how that casual dining option relates to the more formal dining table—perhaps one serves everyday meals while the other is reserved for special occasions, or both support different types of gatherings. Storage for dining linens, serving pieces, and special occasion items should be conveniently located, perhaps in a nearby console, sideboard, or dedicated cabinetry. The furniture selection process is an opportunity to express personal style while ensuring comfort and functionality. Take time to sit in chairs, walk around tables in showrooms, and visualize how pieces will work in your specific space. The right dining furniture transforms a functional eating area into a welcoming gathering place where memories are made and connections are strengthened.
Step 6: Add Color, Texture, and Final Styling Touches
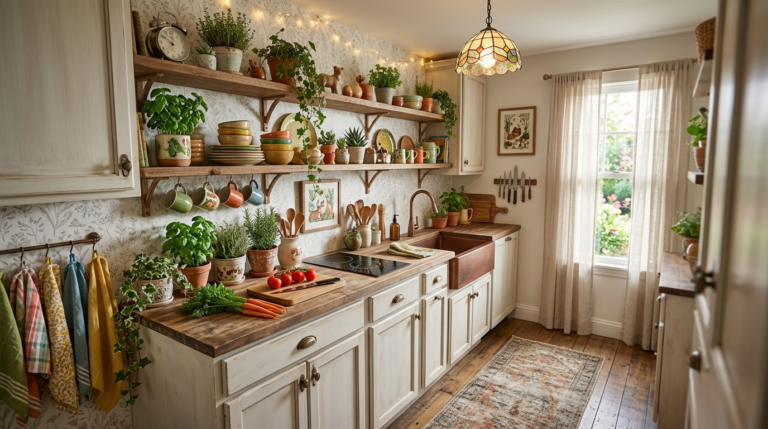
With the major structural and functional elements in place, the final step is adding the layers of color, texture, and personality that make your kitchen and dining area truly feel like home. A cohesive color palette that extends from kitchen through dining creates visual flow—perhaps a neutral base with warm wood tones, soft grays, and accents of your favorite colors in textiles, artwork, and accessories. Texture adds depth and interest: woven placemats or runners on the dining table, ceramic or glassware with subtle variation, linen or cotton napkins, and perhaps a natural fiber rug under the dining table. Plants bring life and freshness, whether a small herb garden on a windowsill, a statement plant in the dining area, or fresh flowers on the table. Artwork or a mirror above a console or sideboard adds visual interest and can help define the dining zone. The key is restraint—selecting a few quality pieces that enhance rather than overwhelm the space. Styling should feel collected and personal rather than overly curated, with room for the everyday objects that make a house a home.
Consider how seasonal changes might influence your styling, with the ability to swap textiles, add seasonal decor, or change floral arrangements to keep the space feeling fresh throughout the year. Lighting plays a crucial role in how color and texture are perceived, so ensure your final styling choices look good under both natural and artificial light. Small details like beautiful salt and pepper shakers, a favorite candle, or a bowl of fruit on the island or table add warmth and personality. The final styling phase is also an opportunity to edit—removing anything that feels unnecessary or disrupts the visual calm you have worked to create. The most successful kitchen and dining spaces feel both thoughtfully designed and comfortably lived-in, with layers that invite interaction and enjoyment. By approaching this final step with intention and editing rigorously, you create a space that feels complete yet flexible, ready to support both the ordinary moments and the special occasions that make home life meaningful.
Similar Posts
14 Stunning Kitchen and Dining Room Upgrades for a Modern Home
Discover 14 stunning kitchen and dining room upgrades that transform your space into a modern haven. Click to see the best design tips and decor ideas today!
16 Whimsical Small Kitchen Ideas to Maximize Charm and Efficiency
Transform your compact kitchen into a delightful, highly functional space with these 16 clever and whimsical ideas. Discover smart storage, creative decor, and space-saving solutions that make every inch beautiful and useful.
18 Magical Kitchen & Dining Ideas That Spark Whimsical Joy
Discover 18 enchanting kitchen and dining transformations filled with quirky creativity and magical touches. From floating herb gardens to luminous tablescapes, these ideas will turn your home into a whimsical haven. Perfect inspiration for dream homes.
12 Cozy Rustic Kitchen and Dining Ideas for Timeless Family Gatherings
Discover 12 warm and inviting rustic kitchen and dining room ideas that create the perfect backdrop for family meals and gatherings. From reclaimed wood tables to thoughtful lighting and natural textures, these timeless concepts bring heart and soul to your home’s heart.
2026 Black Kitchen Trends: Bold Dark Designs Taking Over
Explore the top black and dark kitchen trends for 2026 that blend drama, sophistication, and modern functionality. From matte finishes to striking lighting, discover how to create a luxurious moody space that feels both bold and inviting for everyday living and entertaining.
Top Black & Dark Kitchen Trends Creating Stunning Modern Homes
Explore the latest black and dark kitchen trends, from dramatic cabinetry to layered lighting, and learn how to create a bold yet welcoming space.